
Sudden AC Failure: Safe Diagnostics Before You Make the Call
Your air conditioner is running nonstop, but the house still feels warm—or worse, the system just shut down entirely on a sweltering afternoon. When your cooling system unexpectedly quits during the peak mid-July heatwaves, having a solid grasp of basic home maintenance tips and troubleshooting can mean the difference between a quick, simple fix and a miserable, sweaty weekend waiting for a repair truck. At our business, we frequently receive panicked calls from homeowners experiencing a sudden loss of cooling, which is a highly stressful event that often leads to a rushed call for service.
However, before you assume your system has suffered a total, catastrophic failure, you need to know that many common cooling issues stem from simple oversights. There is a clear, actionable checklist of safe diagnostic steps you can take right now. By understanding basic home maintenance concepts, you can quickly rule out user errors, power interruptions, or simple airflow blockages.
The Value of Basic Home Maintenance Tips and Troubleshooting
Following a structured, step-by-step approach prevents unnecessary service calls and protects your property from further damage. When our team analyzes patterns of troubleshooting local service issues, we find that a significant percentage of "broken" air conditioners are actually just systems responding to a tripped safety switch or a disconnected power source. By taking a deep breath and walking through the safe diagnostic steps below, you take control of the situation. You will either resolve the issue yourself in minutes, or you will gather valuable information to hand over to our technicians if a professional repair is truly required.
Step 1: Ruling Out Thermostat and Power Disconnects
The most logical place to start your diagnostic process is with the controls and the power supply. A pattern we see often across the local area is homeowners assuming the worst when an air conditioner goes quiet, completely overlooking the standard 24-volt electrical pathways that tell the system to turn on. You can perform these basic electrical and control checks safely without ever opening the actual HVAC cabinet.
- Verify the thermostat settings: Check that the thermostat is explicitly set to the "cool" position. Next, ensure the target temperature is set at least three to five degrees below the current room temperature. Sometimes, a simple accidental bump or a schedule override is the only reason the system is resting.
- Test the indoor blower fan: Toggle the fan setting on your thermostat from "auto" to "on." If you hear the indoor fan kick on and feel air moving from your vents, you have confirmed that the indoor unit has power and the thermostat is communicating with it.
- Replace the thermostat batteries: If your thermostat display is blank, faded, or unresponsive to your touch, the batteries are likely dead. Pull the faceplate off the wall and replace the AA or AAA batteries. A thermostat without power cannot signal the air conditioner to start.
- Check the disconnect switches: Your HVAC system has local power switches. Ensure the switch near your indoor air handler (which often looks like a standard light switch) is flipped up to the "on" position. Similarly, verify that the outdoor condenser disconnect box has not been tampered with or pulled out.
Resetting a Tripped Breaker
If the thermostat is functioning but the system remains completely dead, check your home's main electrical panel. Look for a breaker labeled "AC," "HVAC," or "Condenser." If this 20-amp to 50-amp breaker is resting in the middle position, it has tripped. To safely reset it, push the breaker firmly all the way to the "off" position until it clicks, and then push it fully back to the "on" position.
A critical warning: If you reset the breaker and it instantly trips again, or if it trips a few minutes after the system turns on, do not reset it a second time. A repeatedly tripping breaker indicates a serious electrical short or a grounded compressor. Forcing the breaker to stay on can cause an electrical fire or permanently destroy your equipment. At this point, you must call a licensed professional.
Step 2: Inspecting Air Filters and Hidden Airflow Blockages
Airflow is the lifeblood of your air conditioning system. Without a constant, unrestricted volume of air moving across the indoor coils, the entire cooling process breaks down. Explaining how airflow restrictions cause system failures is one of the most common discussions our team has when troubleshooting local service issues.
Clogged air filters are a primary cause of sudden HVAC system freezing and failure, regardless of whether you use standard 1-inch fiberglass filters or 4-inch high-efficiency pleated media. Your air conditioner relies on the warm air from your home to keep the indoor evaporator coil above freezing. When a dirty filter blocks that warm air from reaching the coil, the temperature of the refrigerant drops rapidly. The condensation on the coil freezes into a solid block of ice, choking off the system entirely and potentially damaging the compressor.
To safely resolve this, locate your filter compartment. This is usually found at the bottom of the indoor air handler or behind a large return grille in a hallway or ceiling. Pull the filter out and hold it up to a light source, like a window or a ceiling fixture. If no light passes through the filter material, the filter is completely plugged and must be replaced immediately.
Beyond the filter, you must also check for hidden blockages throughout the house. Walk through every room and ensure all supply vents (where cold air blows out) and return vents (where warm air is sucked in) are fully open. Homeowners often close vents in unused guest rooms to save energy, but this actually increases static pressure inside the ductwork and forces the blower motor to work harder. Make sure no heavy furniture, rugs, or thick curtains are blocking these grilles. The system needs to breathe freely to function properly.
Step 3: Addressing Condensate Drain Clogs
Your air conditioner does more than just lower the temperature; it also actively removes humidity from your indoor air. This dehumidification process creates a significant amount of condensation that collects in a drain pan and flows safely outside through a PVC pipe. When this drainage system fails, the air conditioner will shut itself down to protect your home.
In our years of servicing the local area, we've found that heavy mid-summer humidity drastically increases condensate production. Because a standard 3-ton system can pull 10 to 20 gallons of water out of the air every day, blockages in the typical 3/4-inch PVC drain line become a frequent mid-summer failure point. When water sits in the drain pan, algae and bacterial slime grow rapidly, eventually forming a thick clog in the narrow PVC pipe.
| The Problem | The Underlying Cause | The Safe Solution |
|---|---|---|
| System shuts off completely and thermostat goes blank. | Water has backed up in the drain pan, triggering the safety float switch to cut power to the system. | Visually inspect the drain pan near the indoor unit. If standing water is present, the line is clogged. |
| Water pooling around the base of the indoor air handler. | The primary drain line is fully blocked, and the secondary drain pan is overflowing. | Turn off the system immediately. Use a wet/dry vacuum on the outside drain pipe to pull the clog out. |
| Musty, moldy odors blowing through the air vents. | Stagnant water and algae growth inside the drain pan due to a slow, partial blockage. | Clear the line and slowly pour a cup of white vinegar down the drain access tube to kill algae. |
Modern air conditioning systems feature a safety float switch installed directly in the drain line or the secondary drain pan. When water backs up, a small plastic float rises. Once it reaches a certain height, it trips an internal switch that instantly cuts low-voltage power to the thermostat, shutting the entire system down. This brilliant safety feature prevents extensive ceiling and floor water damage. If your system is dead and you see water sitting in the pan, clearing that clog will lower the float switch and restore power to your unit.
Step 4: Safe Exterior Condenser Checks
The large metal box sitting outside your house is called the condenser. Its primary job is to take the heat that was removed from your home and release it into the outdoor air. To do this efficiently, the outdoor unit requires massive amounts of unrestricted airflow. Providing safe guidelines for inspecting the outdoor unit is a major part of troubleshooting local service issues for our team, as we frequently see homeowners accidentally suffocate their own equipment.
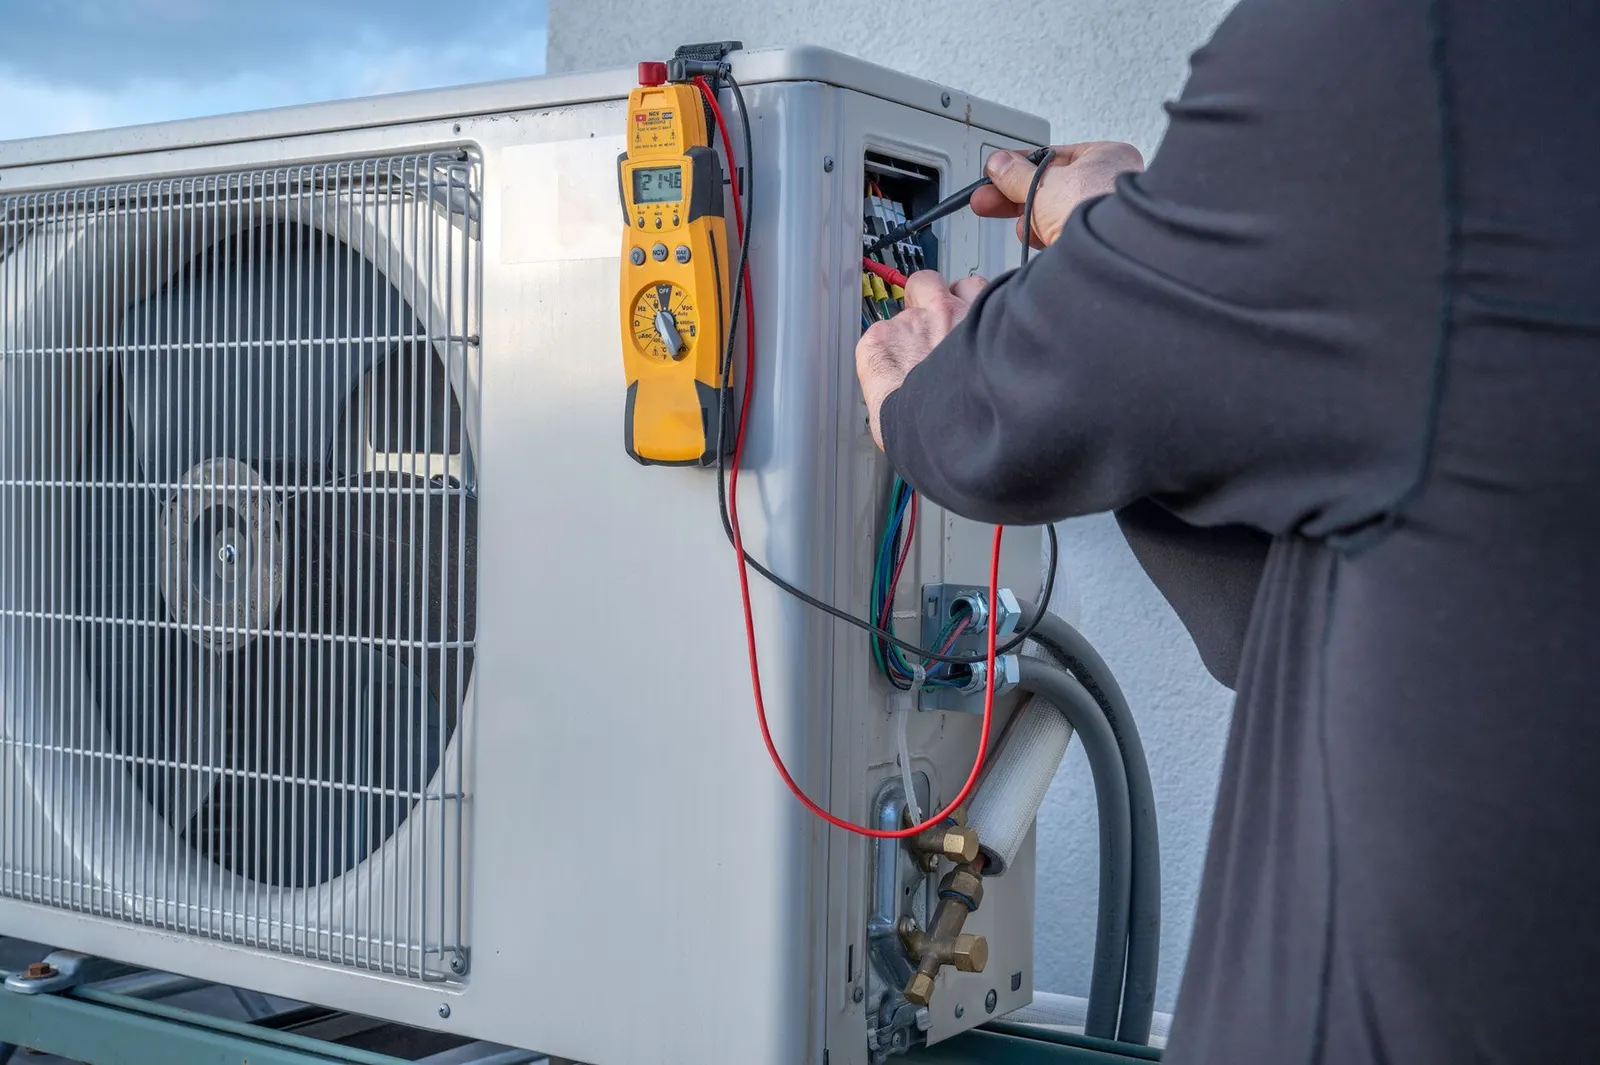
You can perform a visual inspection of the exterior unit safely, provided you do not open any panels or touch the internal electrical components. Use this checklist to ensure your condenser can breathe:
- Clear away overgrown vegetation: Shrubs, tall grass, and climbing vines often grow into the sides of the condenser during the spring and summer. Trim all vegetation back to maintain a minimum two-foot clearance around the entire perimeter of the unit.
- Remove trapped leaves and debris: Look at the metal fins on the sides of the unit. If they are plastered with wet leaves, cottonwood seeds, or grass clippings, the unit cannot release heat. You can gently brush this debris away with a soft broom, but never use a pressure washer, as high-pressure water will bend the delicate aluminum fins.
- Check for top airflow restrictions: The fan on top of the unit blows hot air straight up. Ensure there are no low-hanging branches, deck boards, or solid patio covers sitting directly above the fan. The unit needs at least five to six feet of vertical clearance.
- Visually inspect the refrigerant lines: Look at the two copper pipes connecting the outdoor unit to the house. The larger, insulated suction line should feel cold and sweat like a glass of ice water. If you see a thick layer of white ice building up on this pipe, turn the system off immediately. Ice indicates a severe airflow restriction or a dangerous low-refrigerant condition.

The Red Zone: Components Strictly for Licensed Professionals
While basic troubleshooting empowers you to fix minor issues, you must clearly understand the boundary between safe homeowner checks and dangerous tasks requiring a licensed technician. Modern HVAC equipment utilizes high-voltage electricity, pressurized gases, and complex mechanical parts. Our licensed technicians at our business strictly warn against crossing into the "red zone," which puts your safety, your home, and your warranty at serious risk.
Never attempt to test or replace a dual run capacitor. This small, cylindrical component sits inside the outdoor unit's electrical panel and helps start the compressor and fan motors. A capacitor acts like a powerful battery. It holds a lethal, 240-volt electrical charge even after you have completely turned off the power at the main breaker. Touching the wrong terminals on a capacitor can result in a severe or fatal electrical shock. Only technicians with insulated tools and proper discharge training should handle these components.
Do not tamper with refrigerant lines. If your system is low on cooling power, you might suspect a leak. However, handling R-410A or the newer R-454B refrigerant requires specialized gauges, recovery machines, and strict EPA certification. Refrigerant operates under intense pressure and can cause severe frostbite if it touches your skin or eyes. Venting refrigerant into the atmosphere is also illegal and carries heavy federal fines. If your system is leaking, a professional must locate the hole, braze it shut, and recharge the system precisely to the manufacturer's specifications.
Keep out of the outdoor electrical service panel. Opening the access panel on the outdoor unit exposes you to high-voltage contactors, relays, and circuit boards. This area is strictly off-limits for homeowners. Attempting DIY repairs on these internal components is highly dangerous. Furthermore, virtually every major HVAC manufacturer will immediately void your equipment warranty if they discover that an unlicensed individual has been tampering with the internal electrical or refrigerant systems.
Honest Diagnostics: Deciding When to Book a Service Visit
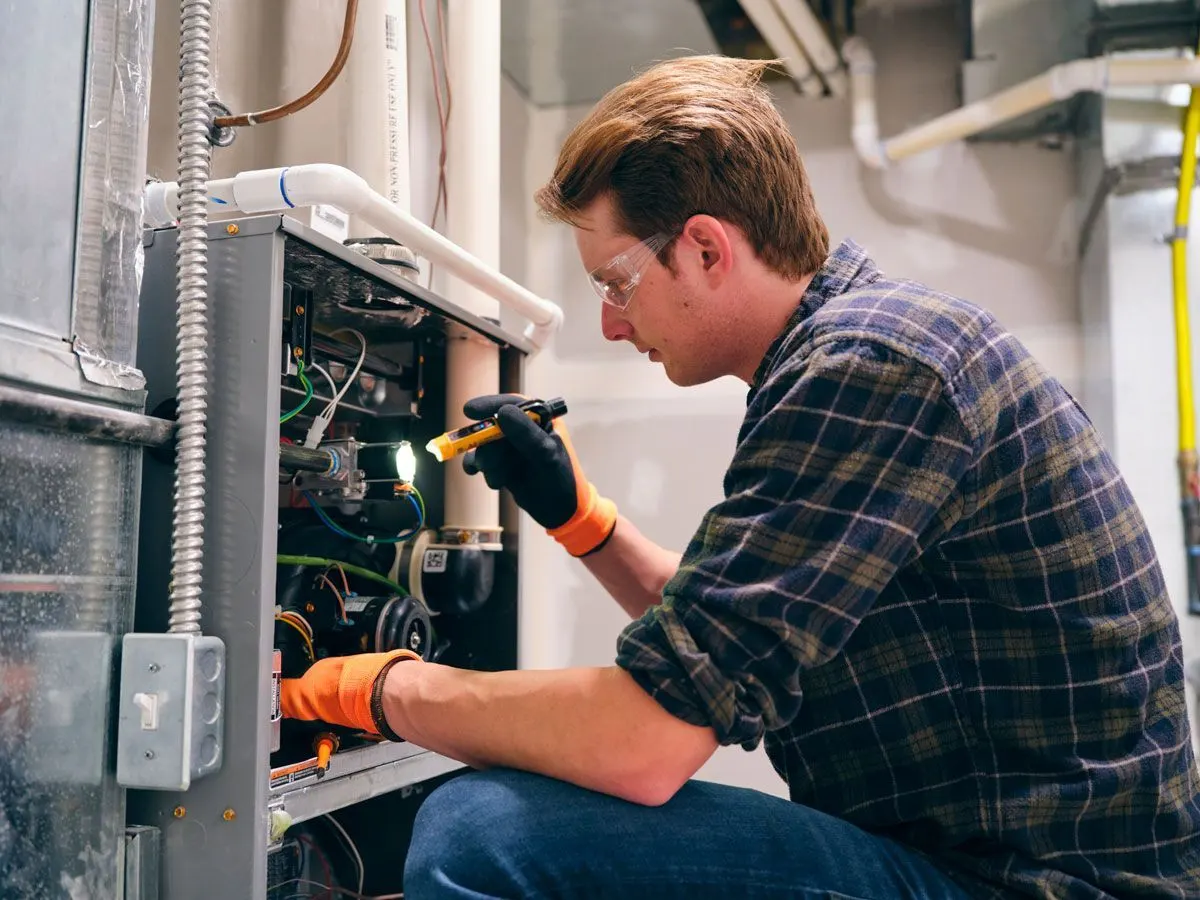
After working through the safe diagnostic steps, you will reach a clear decision point. If you have verified that the thermostat has power, the breaker is on, the air filter is brand new, and the drain pan is bone dry, but the system remains stubbornly off, it is time to call a technician. You have successfully ruled out all user errors and simple maintenance oversights. The problem now lies within the mechanical or electrical systems that require specialized tools to diagnose.
Rooted in family-owned values, our team's approach to service at our business is built on honest assessments. The goal is always to help homeowners rule out simple fixes first, ensuring you only request a service call when professional expertise is truly required. We do not want to dispatch a technician just to flip a tripped breaker or swap out a clogged filter. By doing the groundwork yourself, you ensure that when the technician arrives, they can focus immediately on testing capacitors, measuring refrigerant subcooling, and inspecting blower motors.
A proper diagnostic visit does more than just fix the immediate breakdown. It identifies underlying wear and tear before it results in a catastrophic failure down the road. Understanding your system's baseline health is critical, especially if you are facing a major repair on a 10- to 15-year-old unit. If you are evaluating the overall condition of your system and considering an upgrade to a modern 16-SEER or 18-SEER model, understanding this baseline health is a great first step before looking into AC installation in Hagerstown. Partnering with a reliable, honest technician ensures you receive an accurate, pressure-free assessment of your equipment's true condition.
Frequently Asked Questions About Home Cooling Troubleshooting
What should I check before calling an AC repairman?
Before making a call to our business, always check your thermostat settings, batteries, and the main electrical breaker panel. Next, inspect your indoor air filter to ensure it is not clogged with dust, which restricts airflow and freezes the system. Finally, look at the indoor drain pan for standing water and verify the outdoor unit is free of leaves and debris. Completing these basic checks can often resolve the issue without requiring a service visit.
Why is my home AC unit not turning on?
If your unit is completely unresponsive, the most common culprits are a tripped electrical breaker, a dead thermostat, or a tripped safety float switch in the drain line. The system is designed to cut power to itself if it detects an electrical surge or a water backup. Verify your thermostat has fresh batteries and check the drain pan for clogs before assuming the motor has failed.
Why did my AC suddenly stop working?
Sudden shutdowns usually point to a tripped safety mechanism rather than a gradual mechanical failure. A clogged MERV 8 or MERV 13 air filter can cause the indoor coil to freeze solid, triggering a shutdown. Alternatively, a blown dual run capacitor in the outdoor unit will instantly stop the compressor and fan from running, even though the indoor blower might still push warm air through the vents.
How do I troubleshoot a home cooling system safely?
Safe troubleshooting means sticking strictly to external visual inspections and basic control checks. You can safely change filters, clear drain lines with a vacuum, reset a tripped breaker once, and clear brush away from the outdoor unit. You must never open electrical panels, test capacitors, or attempt to add refrigerant, as these actions carry severe risk of injury and require professional licensing.
Can a clogged air filter cause my AC to stop cooling?
Yes, a severely clogged filter is one of the most frequent reasons an air conditioner stops cooling. The system requires a constant flow of warm indoor air over the evaporator coil to keep the internal refrigerant from freezing. When dirt blocks that airflow, the coil drops below freezing, turns into a block of ice, and completely stops cold air from reaching your rooms.
How do I know if my AC drain line is clogged?
The clearest sign of a clogged drain line is standing water inside the drain pan located beneath your indoor air handler. You might also notice water pooling on the floor around the unit or water stains on the ceiling if the unit is in the attic. Additionally, if your thermostat goes completely blank and the system shuts off, the drain line safety float switch has likely tripped due to a clog.
Your Next Steps for Reliable Indoor Comfort
Having a clear, actionable checklist empowers you to handle minor issues safely and confidently. By applying these home maintenance tips and troubleshooting steps recommended by our team, you protect your equipment from unnecessary strain and save yourself from avoidable repair visits. However, when basic troubleshooting isn't enough to restore your cooling, professional support from our business is just a call away. Learn more about our comprehensive diagnostic assessments to keep your home comfortable, safe, and running efficiently all season long.