
The Hidden Threat of Sudden Late-Fall Temperature Drops
Before the leaves even finish falling, knowing how to prevent freezing in exterior plumbing pipes is a priority for Mid-Atlantic homeowners. The seasonal transition in our region often brings unexpected, sharp temperature drops that can catch you completely off guard. You might be enjoying a comfortable autumn afternoon, only to wake up to frost on the grass and ice forming on your windshield. This rapid shift leaves exposed outdoor plumbing incredibly vulnerable to damage.
When temperatures plummet during those early November overnight freezes, the water resting inside your exposed pipes begins to crystallize. Water expands by approximately 9 percent when freezing. This physical expansion creates immense pressure—often enough to rupture even solid metal pipes and heavy-duty brass fixtures. The damage does not always happen right at the ice block; the expanding ice pushes water back toward the inside of your house, causing the pipe to burst wherever it is weakest.
Waiting for an official winter storm warning on the local news is often too late to protect exposed infrastructure. By the time the forecast calls for snow or deep freezes, the ambient temperature has likely already dipped low enough overnight to start the freezing process. Securing the exterior of your house is the crucial first step in preparing your overall home comfort and climate control systems for winter.
Why Timing Is Everything for Exterior Pipe Protection
Treating late fall as an absolute deadline prevents emergency plumbing disasters when you least expect them. A single overnight freeze is all it takes to compromise exposed hose bibs and pipes around Williamsport MD area homes. Many homeowners assume that a light frost is not enough to cause permanent damage, but wind chill and exposed metal can accelerate the freezing process significantly, turning a minor cold snap into a major headache.
The cost of hesitation: When an exterior pipe bursts, the signs are not always immediately visible. The break might occur just inside the exterior wall. When the ice eventually thaws, water flows freely into your wall cavities, basement, or crawlspace, causing extensive structural damage before you even notice a leak.
Proactive insulation gives you total peace of mind before the holiday season brings its own set of disruptions. If you delay this simple maintenance, you risk dealing with a flooded basement right when you are preparing to host family and friends. A sudden leak requires immediate, urgent attention, and you might find yourself scrambling for emergency repair services in Williamsport during the busiest time of the year. Understanding the mechanics of winterization is a fundamental part of seasonal home ownership. A typical pattern we see is that homes prepped by mid-November sail through January without a hitch, while those who wait inevitably face stressful, disruptive water damage.
Step 1: Disconnect and Drain Garden Hoses
The absolute simplest yet most overlooked task in late fall is dealing with your garden hoses. When those November overnight freezes arrive, any water left inside a connected hose becomes a serious liability to your home's plumbing.
Leaving a hose connected traps water inside the spigot. Even if you have the faucet turned off, the water held in the hose can freeze, expand, and force expanding ice backward into the home's internal plumbing. Here is exactly how to handle your hoses before the cold sets in:
- Turn off the water flow: Ensure the exterior spigot is turned completely to the "off" position so no new water enters the hose.
- Disconnect the fitting: Unscrew the hose from the spigot. If it has been attached all summer, you might need a pair of pliers to gently loosen the metal connection.
- Drain the line completely: Stretch the hose out on a downward slope and walk from one end to the other, forcing all trapped water out of the nozzle. Water left inside will freeze and crack the rubber or vinyl lining.
- Store in a safe location: Coil the empty hose neatly and store it indoors, in a shed, or in a climate-controlled garage to prevent the material from becoming brittle and cracking over the winter.
Taking ten minutes to properly disconnect and store your hoses removes the most common cause of burst exterior spigots.
Step 2: Shut Off Interior Water Valves to Exterior Spigots
Once the hoses are removed, the next objective is to safely isolate the exterior water supply. Many Williamsport MD area homes feature dedicated interior shut-off valves designed specifically for this purpose.
Locate the interior shut-off valves, which are typically found in basements, crawlspaces, or utility closets. They are usually situated on the water pipe leading directly toward the exterior wall where the outdoor spigot is located. Once you find the valve, turn it clockwise until it stops to completely shut off the water supply to the outside.
After isolating the line from the inside, go back outside and open the exterior spigot. This allows any remaining trapped water in that short section of pipe to drain out completely. Leave the exterior spigot open throughout the entire winter. Leaving it open gives any residual moisture room to expand harmlessly if it freezes, relieving pressure that would otherwise build up against the valve.
Understanding Your Spigot Type:
| Fixture Type | Identification | Winterization Need |
|---|---|---|
| Traditional Spigot | Short stem, valve sits directly on the exterior wall. | High. Must be shut off from the inside and drained completely to prevent freezing. |
| Frost-Free Hose Bib | Longer stem, valve mechanism sits several inches inside the heated home. | Moderate. Still requires hose disconnection, but less likely to freeze if installed with a proper downward pitch. |
Step 3: Install Foam Faucet Covers and Pipe Insulation
Even with the water shut off and the lines drained, exposed metal fixtures need protection from extreme ambient cold. Metal conducts temperature rapidly, and freezing cold can travel along the pipe right into the exterior wall of your home.
When November overnight freezes hit, physical insulation acts as a barrier, trapping the ambient heat radiating from the inside of your house and keeping the metal fixture just warm enough to prevent any residual moisture from turning to ice. Follow this checklist to secure your exposed plumbing:
- Secure hard foam covers: Place insulated hard foam faucet covers tightly over all exterior hose bibs. Pull the internal loop around the spigot handle and cinch the external slide tight against the brick or siding.
- Wrap exposed pipes: Identify any exposed exterior pipes leading into the home, especially in unheated crawlspaces or along the foundation. Wrap them securely with specialized pipe insulation tape or pre-slit foam tubes.
- Seal the gaps: Ensure all insulation is secured tightly end-to-end. Use waterproof tape to seal the seams of foam tubes to prevent freezing drafts from penetrating the gaps.
- Check utility areas: Do not forget to insulate lines running to outdoor utility sinks, pool houses, or detached garage workshops.
Choosing the Right Insulation Materials
Selecting the proper materials makes a significant difference in how well your pipes withstand the winter. Use weather-resistant, hard-shell foam covers for spigots, as they hold up better against snow and ice than soft cloth bags. When buying foam tubes for straight pipe runs, select tubes sized exactly to the diameter of your exposed pipes—a loose fit allows cold air to circulate underneath the insulation. Finally, always utilize waterproof insulation tape to seal seams securely, as standard duct tape will peel away when exposed to winter moisture.

Protecting Your Home's Complete Thermal Envelope
Insulating exterior pipes is just the first step in securing a home's thermal envelope against the cold. The thermal envelope is the physical barrier between the conditioned, heated air inside your living space and the freezing weather outside. When we look at Williamsport MD area homes, we often find that the holes drilled through the exterior walls for plumbing penetrations are slightly larger than the pipes themselves.
Over the years, the caulk, expanding foam, or weatherstripping around these gaps can dry out, shrink, or degrade. When this happens, it allows freezing winter air to push directly into your wall cavities and basement. This creates a double threat: it drastically increases the chance of the pipe freezing right at the entry point, and it forces your heating system to work much harder to overcome the cold drafts entering the house.
Sealing these gaps with fresh, weather-resistant exterior caulk or expanding foam protects both the water lines from freezing and the home from unnecessary heat loss. At Comfort Central Inc., we take a holistic approach to home comfort. We recognize that protecting your exterior plumbing is intrinsically linked to preserving your HVAC efficiency and overall winter readiness. A home that is sealed tight against the weather is easier to heat and less prone to plumbing failures. Identifying these vulnerabilities early helps in finding drafts and leaky ducts before the winter freeze arrives.
Beyond the Pipes: Pre-Winter HVAC Readiness
Once your exterior plumbing is drained, covered, and insulated, your attention must shift to internal heating reliability. The Mid-Atlantic winter requires both secure plumbing and a fully optimized heating system to keep your property safe. If your heating system fails during a cold snap, the temperature inside your home will rapidly drop, putting your interior pipes at the exact same risk as your exterior ones.
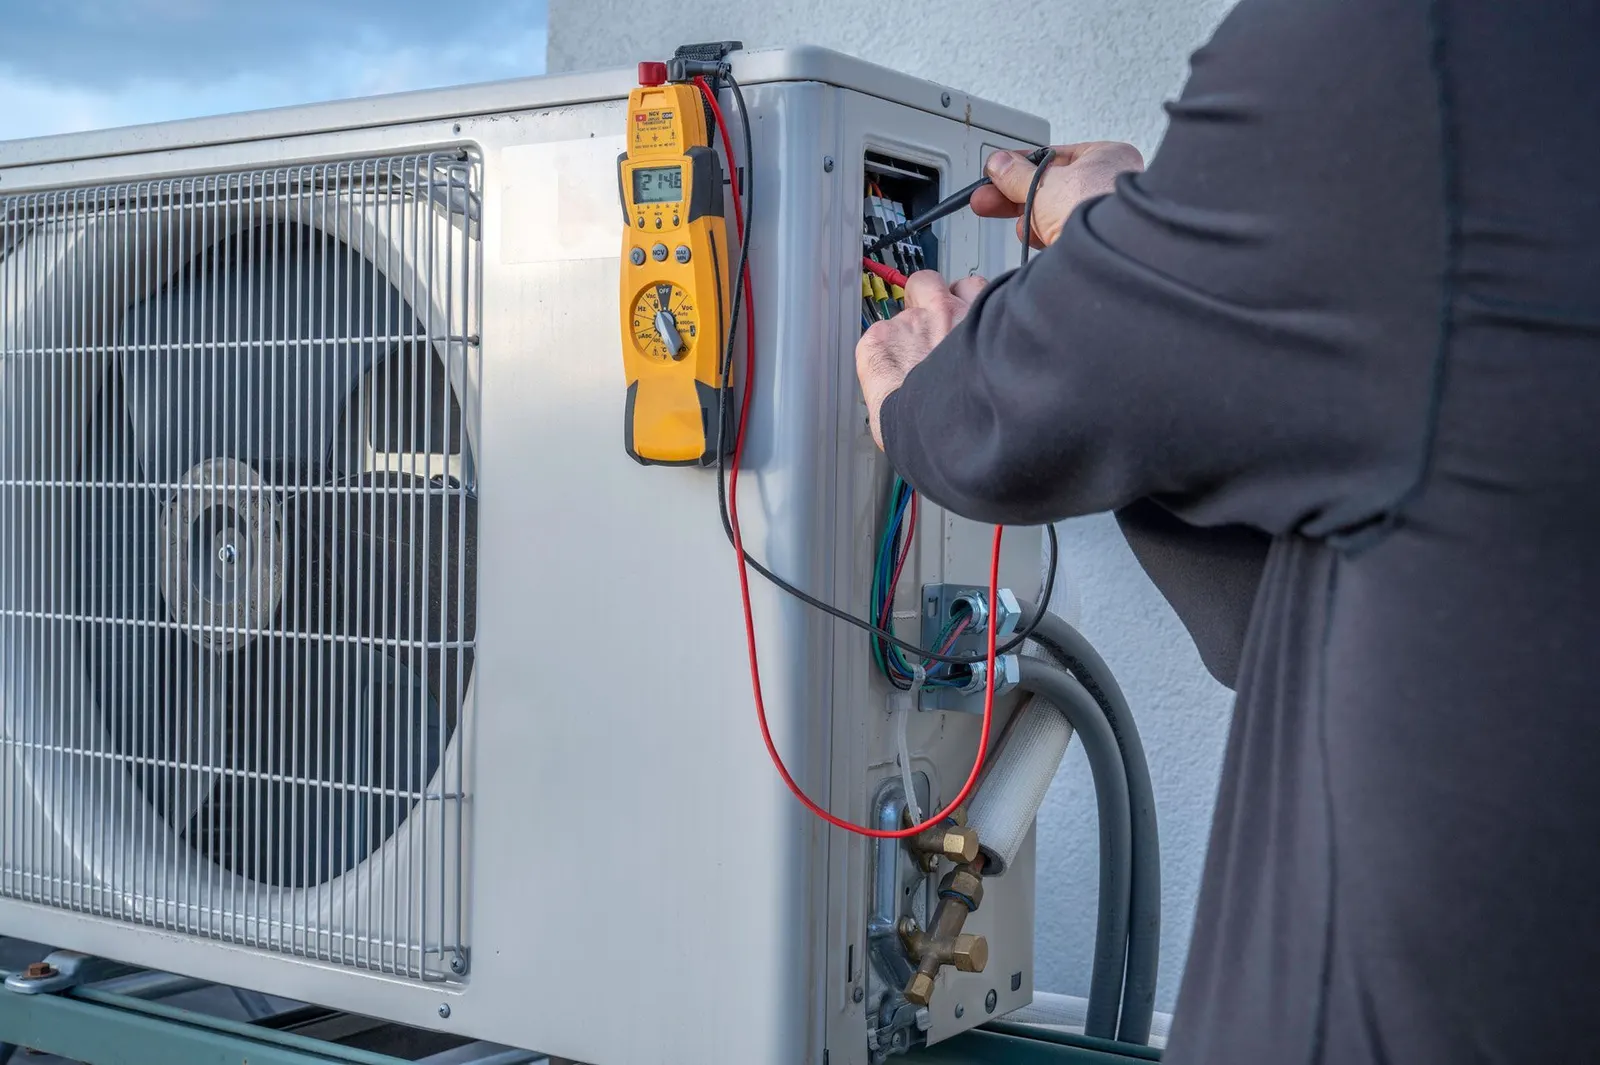
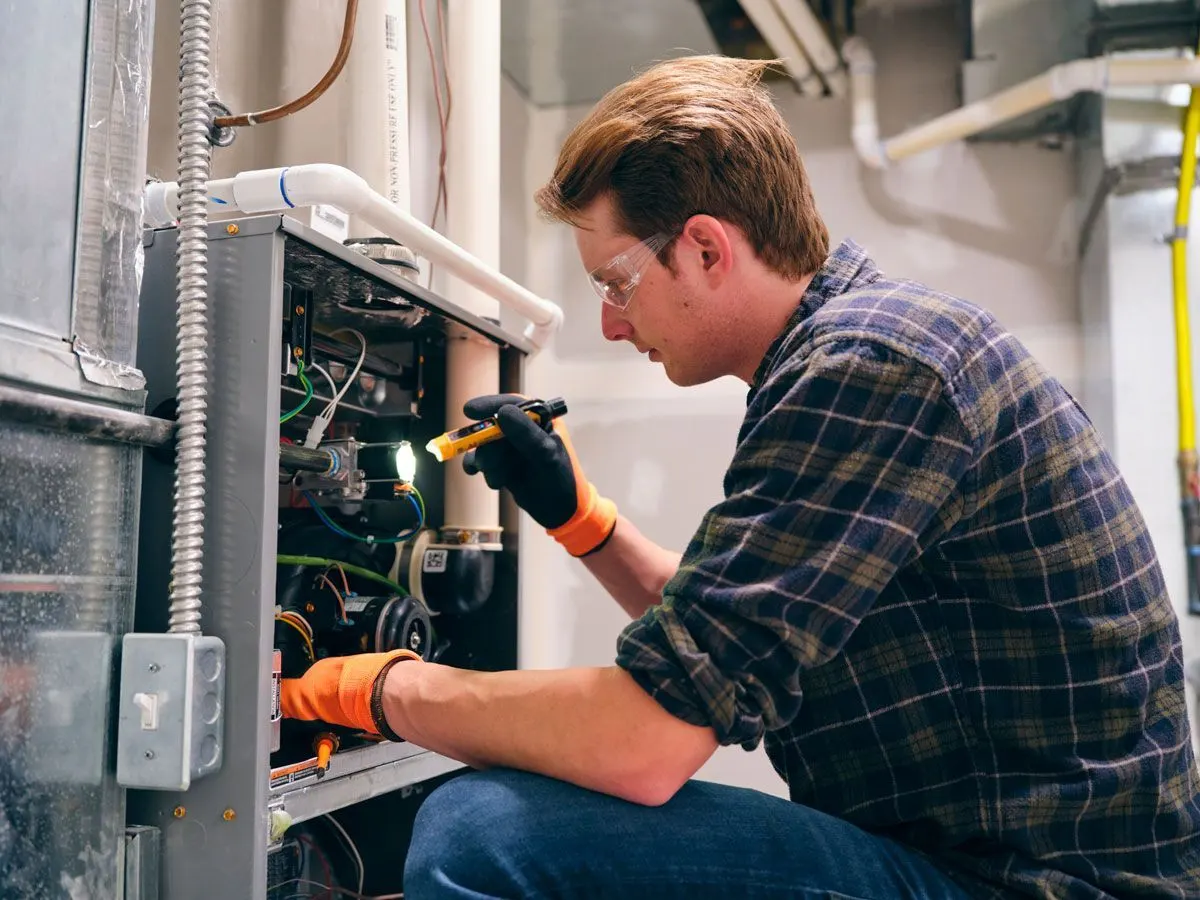
A secure thermal envelope ensures that the home's heating system operates at peak efficiency, but the equipment itself must be ready to handle the continuous demand of January and February. Proactive scheduling of seasonal preventative maintenance ensures the home remains safe and comfortable during the coldest months. A comprehensive tune-up involves checking the ignition systems, testing safety controls, replacing clogged air filters, and ensuring the blower motor is operating smoothly.
Taking action now prevents scrambling for emergency services during a holiday cold snap. When November overnight freezes hit, you want the confidence of knowing that your home is sealed, your pipes are protected, and your heating system is running flawlessly.
Secure Your Home Before the Deep Winter Sets In
Proactive exterior plumbing preparation is the most effective way to prevent costly winter damage. By treating late fall as your hard deadline, you avoid the panic that comes with the first major winter storm warning. Taking these simple, accessible steps now ensures a safer, more comfortable winter season for Williamsport MD area homes.
From draining hoses to sealing the thermal envelope, every preventative measure you take builds a stronger defense against the cold. Explore holistic home comfort solutions to keep your entire property protected from the cold, ensuring you have clear, regionally accurate guidance to rely on all season long.
Frequently Asked Questions
At what temperature do outside pipes freeze?
Outside pipes typically begin to freeze when the ambient temperature drops to 20 degrees Fahrenheit or lower. However, if the pipes are exposed to harsh wind chill or are located in an uninsulated space, freezing can occur even when temperatures are hovering just around the 32-degree mark. Proactive insulation is necessary to protect against these variables.
Should I let my outside faucets drip in winter?
You should not let outside faucets drip if you can shut off the interior valve and drain them completely. Dripping is a strategy used for interior pipes during extreme cold to prevent pressure buildup, but an exterior spigot left dripping can form dangerous icicles and ice dams on your siding. It is always better to drain and isolate the exterior line.
Do foam faucet covers really work?
Yes, foam faucet covers are highly effective when installed correctly. They work by trapping the ambient heat that radiates through your exterior wall, keeping the metal spigot just warm enough to prevent freezing. To be effective, the cover must be cinched tight against the wall to block out any cold drafts.
How do you winterize exterior plumbing fixtures?
Winterizing involves disconnecting all hoses, shutting off the interior water supply valve, and draining the remaining water from the spigot. Once drained, the fixture should be covered with an insulated hard foam shell. Finally, any exposed pipes leading up to the fixture should be wrapped with weather-resistant insulation tape or foam tubes.
Can a burst exterior pipe flood my basement?
Absolutely, a burst exterior pipe is a common cause of basement flooding. When the ice block forms and expands, it often cracks the pipe just inside the wall or rim joist. Once the weather warms up and the ice thaws, the pressurized water flows freely into the home, quickly flooding basements or crawlspaces before you realize there is a problem.