
Identifying the Root Cause of AC System Failures
Your air conditioner is running nonstop, but the house still feels uncomfortably warm and sticky. That persistent hum from the condenser isn’t translating into cold air, leaving you wondering if a complete breakdown is imminent. When faced with an underperforming cooling system, finding reliable home maintenance tips and troubleshooting steps is the first line of defense. However, deciding whether an issue requires a simple filter change or immediate professional intervention can be frustrating without a clear understanding of what is actually happening inside the equipment.
When basic upkeep isn’t enough to restore your comfort, securing professional HVAC services ensures the problem is diagnosed correctly the first time.
The Value of Objective System Evaluation
A typical pattern we see in general educational service queries is that homeowners often jump straight to worst-case scenarios when their cooling system falters. It is incredibly frustrating to deal with a home that refuses to cool down, especially when you cannot see the internal components working. Understanding basic system mechanics helps clarify whether an issue is a minor airflow restriction or a major mechanical failure. By taking a step back and looking at the system objectively, you can avoid rushed decisions and ensure that any steps taken—whether DIY checks or professional repairs—are technically sound and appropriate for the situation.
Common AC Mechanics and Why Systems Fail
To understand why a cooling system stops working, it helps to know how it operates under normal conditions. An air conditioner does not actually “create” cold air; rather, it removes heat and moisture from the indoor air and pumps it outside. This heat transfer process relies on a closed loop of refrigerant and a series of mechanical components that must work in perfect harmony.
The Problem: Mechanical Degradation Over Time
Even the highest-quality central air conditioning units experience wear and tear. Over thousands of hours of operation, vibration, thermal expansion, and continuous electrical loads take a toll on the system. When one component begins to underperform, it forces the rest of the system to work harder to compensate, accelerating the overall decline of the unit.
The Cause: Interplay of Critical Components
System failures usually trace back to a breakdown in the relationship between three primary components:
| Component | Primary Function | Common Failure Points |
|---|---|---|
| Compressor | Pressurizes the refrigerant, pumping it through the system to release absorbed heat. | Electrical burnout, hard starting, or mechanical seizing due to lack of maintenance. |
| Evaporator Coils | Absorbs heat and humidity from the indoor air as it passes over the cold refrigerant. | Freezing over due to poor airflow, or pitting and leaking from volatile organic compounds (VOCs). |
| Refrigerant Lines | Transports the chemical refrigerant between the indoor and outdoor units. | Micro-leaks developing at solder joints, leading to a gradual loss of cooling capacity. |
The Solution: Mitigating Wear Through Routine Care
Neglecting routine maintenance accelerates this mechanical decline. A dirty condenser coil forces the compressor to run at higher pressures and temperatures, which bakes the internal lubricating oils and shortens the compressor’s lifespan. By ensuring the system is cleaned, inspected, and calibrated regularly, you maintain the designed operating pressures and significantly reduce the likelihood of a catastrophic component failure.
Troubleshooting vs. Knowing When to Call a Professional
There is a distinct line between safe homeowner maintenance and diagnostics that require a licensed expert. Crossing that line not only risks further damage to the equipment but can also pose serious electrical and chemical safety hazards. Establishing clear, objective criteria helps you know exactly when to pick up a screwdriver and when to pick up the phone.
Safe Homeowner Checks
Before assuming your system needs a major repair, verify these basic operational requirements:
- Inspect air filters: A severely clogged filter restricts airflow, causing the evaporator coil to freeze into a block of ice. Check and replace standard 1-inch filters every 30 to 90 days.
- Verify thermostat settings: Ensure the thermostat is set to “Cool” and the fan is set to “Auto.” A fan set to “On” will blow unconditioned air between cooling cycles, making the home feel warmer.
- Ensure vents are unblocked: Walk through the house and confirm that supply registers and return grilles are not blocked by furniture, rugs, or heavy drapes.
- Check the electrical panel: Sometimes a tripped breaker is the only thing standing between you and a cool home. Reset the breaker once; if it trips again immediately, stop and call a professional.
Warning Signs That Demand Professional Intervention
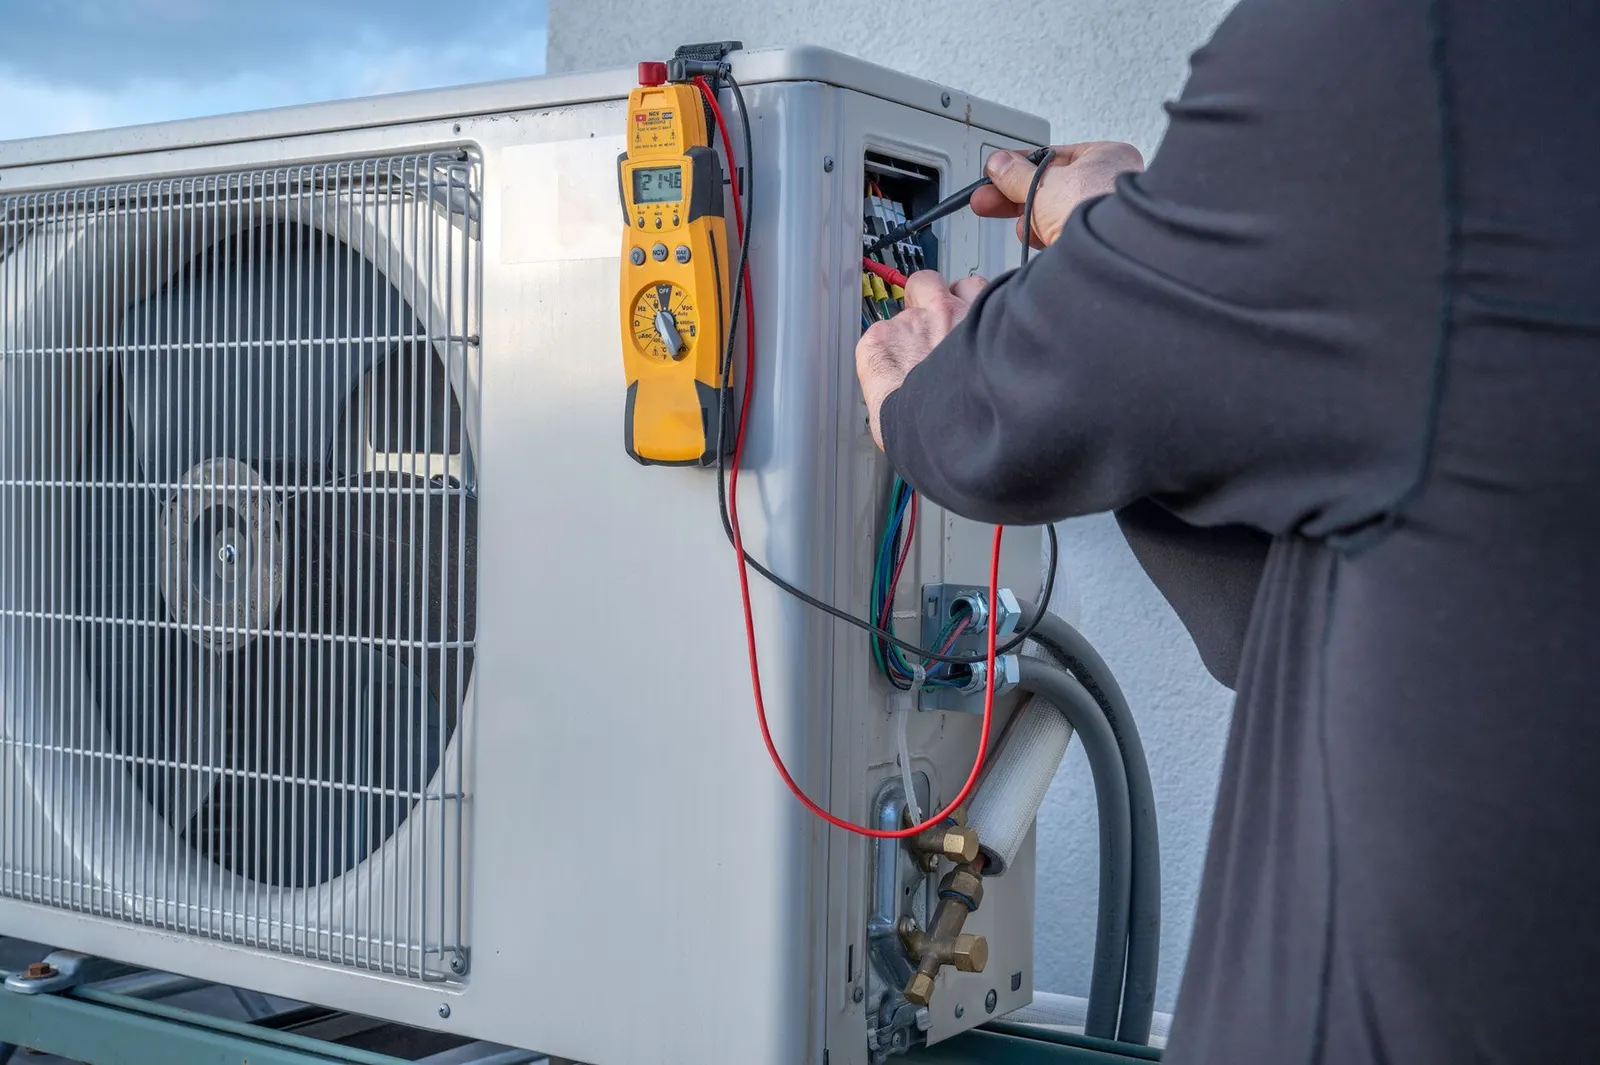
If the basic checks do not resolve the issue, you may be dealing with a more severe mechanical or electrical problem. You should immediately request professional diagnostics if you notice:
- Electrical anomalies: Burning smells, flickering lights when the unit starts, or a repeatedly tripping breaker indicate a dangerous electrical short or a failing compressor motor.
- Refrigerant leaks: A hissing sound near the indoor unit, paired with a sudden drop in cooling output, usually points to a breached refrigerant line. Refrigerant handling requires EPA certification.
- Grinding or screeching noises: Metal-on-metal sounds suggest a failing fan motor bearing or a compressor internal mechanical failure. Running the unit in this state will destroy it.
When you do need to bring in an expert, the value of a transparent diagnostic process cannot be overstated. For example, one local homeowner recently faced a mid-summer HVAC failure and reached out for help. Because the technician spent time explaining the available options and making the diagnostic process transparent, the customer understood exactly what was wrong with the system and the associated pricing, avoiding any unexpected charges. That is the standard of clarity you should expect.
The Critical Role of Proper Sizing in Humid Climates
A common misconception in the HVAC industry is that buying a larger air conditioner will cool the house faster and better. In reality, an oversized system creates a host of comfort and efficiency problems, particularly in regions that experience heavy summer moisture. With hot, humid summers being a staple of the Mid-Atlantic climate, precise AC sizing is absolutely essential for effective moisture removal, not just temperature reduction.
Understanding Short-Cycling
When an air conditioner is too large for the square footage and heat load of a home, it cools the air far too quickly. The thermostat registers the drop in temperature and shuts the system off after only five or ten minutes. This rapid on-and-off behavior is known as “short-cycling.”
Short-cycling is terrible for the mechanical components, as the start-up phase is the most stressful part of the cooling cycle. It draws the highest electrical current and puts the most torque on the compressor. A system that starts and stops constantly will wear out years before a properly sized unit.
The Battle Against Latent Heat
More importantly, short-cycling destroys indoor comfort. An air conditioner deals with two types of heat: sensible heat (the actual temperature reading on the thermometer) and latent heat (the humidity or moisture in the air). To effectively extract latent heat, the indoor coil must remain cold, and air must pass over it for an extended period—typically 15 to 20 minutes per cycle.
If the oversized unit shuts off after five minutes, it never runs long enough to dehumidify the air. The result is a home that feels cold but incredibly “clammy” or sticky, which often prompts homeowners to push the thermostat even lower, wasting energy without ever achieving true comfort. Proper sizing ensures the unit runs in long, steady cycles that wring the humidity out of the air.
Getting this right from day one is critical. One homeowner required a new system during the heat of summer and reached out for an AC installation in Hagerstown. After receiving a detailed estimate and proposal that accounted for proper sizing, the professional install was completed within a week, ensuring the new unit could handle both the sensible and latent heat loads effectively.
Decoding HVAC Manual J and Manual D
To avoid the pitfalls of an oversized or undersized system, the HVAC industry relies on strict mathematical formulas rather than guesswork. If a contractor offers to replace your system based solely on the square footage of your home—a deeply outdated “rule of thumb”—that is a major red flag. Modern installations require precise calculations known as Manual J and Manual D.
Manual J: The Heat Load Calculation
Manual J is the industry standard protocol published by the Air Conditioning Contractors of America (ACCA) for calculating a home’s exact heating and cooling load. A proper Manual J calculation takes dozens of variables into account, far beyond just the size of the house.
A technician performing a Manual J calculation will evaluate:
- The orientation of the home (which rooms face the sun in the afternoon).
- The number, size, and thermal efficiency of all windows and doors.
- The quality and depth of insulation in the attic, walls, and crawlspaces.
- The local climate data and historical temperature extremes.
- The heat generated by appliances and the number of occupants.
By compiling this data, the calculation dictates exactly how many BTUs (British Thermal Units) of cooling capacity the home requires to maintain a comfortable temperature on the hottest day of the year.
Manual D: Ductwork Design and Airflow
Once the correct equipment capacity is determined by Manual J, Manual D comes into play. Manual D is the standard for designing the ductwork system to ensure it can deliver the right amount of conditioned air to every room.
Even the most efficient, perfectly sized air conditioner will fail if it is connected to undersized or poorly designed ducts. Manual D calculates friction loss, static pressure, and the necessary cubic feet per minute (CFM) of airflow. It ensures that the blower motor does not have to strain against restrictive ductwork, which prevents hot and cold spots throughout the house and protects the lifespan of the equipment.

What to Expect During a Professional Replacement
Demystifying the installation process helps alleviate the stress of a major home improvement project. A professional HVAC replacement is a highly orchestrated event that requires specialized tools, handling of volatile chemicals, and strict adherence to local building codes. Here is what a standard professional installation process looks like:
- Preparation and Recovery: The crew begins by securing the work area and laying down drop cloths. The most critical first step is safely recovering the existing chemical refrigerant from the old system using a specialized recovery machine and certified cylinders. Venting refrigerant into the atmosphere is illegal and environmentally damaging. Once the lines are clear, the old condenser, indoor coil, and furnace (if applicable) are disconnected and safely removed from the property.
- Installation of New Components: The outdoor area is prepped, often requiring a new, level composite pad. The new condenser is set in place. Indoors, the new evaporator coil is aligned with the existing plenum and ductwork. The technicians then braze (weld) the copper refrigerant lines to connect the indoor and outdoor units, flowing nitrogen through the pipes during the brazing process to prevent internal oxidation and soot buildup.
- System Evacuation and Charging: A vacuum pump is attached to the system to pull out all air and moisture from the refrigerant lines, creating a deep vacuum. This ensures the chemical refrigerant remains pure. Once the vacuum holds steady, proving there are no leaks, the new refrigerant is released into the system and the electrical connections—including a new disconnect box and wiring whip—are finalized.
- Calibration and Testing: The final phase involves configuring the new thermostat and turning the system on. The technicians will test the system across multiple cycles, checking the refrigerant charge (subcooling and superheat measurements), measuring the electrical draw of the motors, and verifying the temperature drop across the indoor coil to ensure optimal airflow and efficiency.
Setting expectations for the timeline is also important. An efficient, professional crew can typically complete a standard swap-out in a single day. For example, one local customer with an unusual AC setup required a complete system overhaul in the spring. The installation crew not only installed a new system that worked perfectly but also took the time to show the homeowner how to program the new thermostat, ultimately resolving their previous comfort issues and lowering their electric bills.
Objective Criteria for Repair vs. Replacement
Synthesizing the mechanics of system failure and the technical realities of proper sizing leads to the ultimate question: should you repair your aging unit, or is it time to replace it? Making this decision requires a neutral framework that weighs the severity of the failure against the long-term costs of operation.
The Problem: Diminishing Returns on Aging Equipment
A central air conditioner has a typical lifespan of 10 to 15 years. As a system approaches the end of this window, the frequency of component failures tends to increase. Pouring money into a decade-old system is often a losing battle, as replacing one part does not reset the clock on the rest of the aging components.
The Cause: Efficiency Loss and Cumulative Wear
Beyond the cost of repairs, aging systems suffer from cumulative wear that destroys their energy efficiency. A 12-year-old system with a failing compressor is likely operating far below its original SEER (Seasonal Energy Efficiency Ratio) rating. You are not only paying for the repair but also paying a premium on your monthly utility bills just to keep a struggling system running.
The Solution: A Framework for Evaluation
When deciding your next steps, we recommend evaluating the situation through an objective lens. Working with a company rooted in strong family values means you receive honest repair-vs-replace recommendations based on the math, rather than aggressive upselling tactics. Consider the “$5,000 Rule” as a baseline: multiply the age of the equipment by the estimated cost of the repair. If the total exceeds $5,000, replacement is generally the wiser financial decision.
Additionally, weigh the cost of frequent breakdowns against the energy efficiency gains of a modern system. A new, properly sized system (verified by Manual J) with newly sealed ductwork (verified by Manual D) will provide superior dehumidification, lower monthly operating costs, and reliable warranties that protect you from sudden out-of-pocket expenses.
Frequently Asked Questions About AC Upgrades
When is it time to replace an AC unit instead of repairing it?
You should strongly consider replacement if your central air conditioning unit is over 10 to 15 years old and experiencing major component failures. Evaluate the frequency and cost of your recent repairs; if you are consistently paying for refrigerant top-offs or motor replacements, those funds are better invested in a new system. Additionally, if your current unit uses obsolete R-22 refrigerant, replacement is the most cost-effective long-term solution.
What happens during a professional AC installation?
During a professional installation, the old equipment and chemical refrigerant are safely removed and disposed of according to EPA regulations. The new indoor and outdoor components are then installed, and the copper refrigerant lines are brazed and vacuum-tested for leaks. Finally, the system is charged with fresh refrigerant, calibrated, and thoroughly tested to ensure proper airflow and temperature drop.
How do I know what size AC I need for my house?
The only accurate way to determine the correct size is for a professional to perform a Manual J load calculation. This calculation factors in your home’s insulation, window efficiency, orientation, and local climate data. Relying on square footage alone is insufficient and often leads to purchasing an oversized unit that will short-cycle and fail to remove humidity.
Why is my AC running but not cooling the house?
This issue could be caused by a severely dirty air filter, frozen evaporator coils, or a slow refrigerant leak that has depleted the system’s cooling capacity. Check your thermostat settings and replace the filter to see if airflow improves. If those basic checks fail to resolve the problem, the system requires professional diagnostics to locate the underlying mechanical or chemical fault.
How does ductwork impact a new AC installation?
Ductwork acts as the respiratory system for your air conditioner; if it is improperly sized, it will restrict airflow and choke the new equipment. Manual D calculations ensure that the existing or new ductwork matches the precise airflow capacity of the new air conditioner. Connecting a highly efficient modern AC to leaky, undersized ducts will ruin its efficiency and shorten its lifespan.
Making an Informed Decision for Your Home’s Comfort
Understanding the mechanics behind your air conditioning system empowers you to make better, more confident decisions when things go wrong. Whether you are dealing with a minor airflow issue or facing a major mechanical failure, knowing how components like the compressor and evaporator coils interact takes the mystery out of the diagnostic process.
The right choice for your home always depends on objective criteria—such as the age of the unit, the cost of repairs, and the necessity of proper Manual J sizing—not on high-pressure sales tactics. When you are ready to address your home’s cooling needs, seek out professional, transparent evaluations. A clear, unbiased explanation of the mechanics behind your problem ensures you get the exact solution required to restore your comfort reliably and efficiently.