
Why Your AC Stopped Cooling (And What to Do Next)
The thermostat reads 80 degrees, warm air is blowing from your vents, and you need common homeowner questions answered right now before the indoor temperature climbs any higher. Identifying the root cause of an HVAC system blowing warm air or failing to start during peak demand season is incredibly frustrating. You are immediately faced with a critical decision: do you perform basic homeowner troubleshooting, or do you call a professional technician right away?
Navigating this decision is much easier when you understand the basic components of your air conditioning systems. Jumping straight to a service call for a minor oversight can result in an unnecessary diagnostic fee, while ignoring a serious mechanical issue can permanently damage your equipment.
Using a strict, sequential diagnostic framework helps you rule out the simple fixes first. The goal is to protect your equipment and your wallet. Some cooling failures are caused by easily correctable user errors or minor blockages, while others indicate a total system failure that will require serious intervention or an upgrade. By following a step-by-step checklist, you ensure that any DIY checks are performed safely, and you gather the exact information a technician will need if a professional repair ultimately becomes necessary.
Step 1: Check the Thermostat Settings First
It sounds almost too simple, but at Comfort Central Inc., our team finds that thermostat misconfigurations account for a massive percentage of the emergency service calls we field during peak demand season. Before you assume the compressor has failed, you must rule out the control center of your HVAC system. A thermostat simply sends electrical signals to the control board; if those signals are incorrect or interrupted, the system will not cool your home.
- Verify the system mode: Ensure the thermostat is explicitly set to "Cool." It is very common for the switch to get bumped to "Heat" or "Off" during cleaning. Additionally, check that the fan setting is on "Auto" rather than "On." If the fan is set to "On," the blower motor will run constantly, circulating unconditioned, warm air through the vents even when the cooling cycle is resting.
- Check the temperature differential: Ensure the set temperature is at least 3 to 5 degrees below the current room temperature. Modern smart thermostats often have built-in delays to prevent short-cycling, meaning the system might take up to five minutes to kick on after you lower the temperature.
- Replace the batteries: If your thermostat relies on AA or AAA batteries rather than a hardwired C-wire, low power can cause erratic HVAC behavior. A dying battery might have enough juice to power the digital display but lack the voltage required to send the cooling signal to the furnace control board.
- Inspect for blank screens or loose wiring: If the screen is entirely blank, gently pull the faceplate off the wall and check for obvious loose wires. A blank screen often indicates a deeper electrical issue, such as a blown low-voltage fuse on the indoor unit's control board or a tripped safety switch.
Step 2: Inspect Your Air Filter for Severe Clogs
The Problem: Your air conditioner is running constantly, but the airflow from the registers feels weak, or the air feels distinctly humid and warm. In severe cases, the system might shut down entirely, or you might notice a puddle of water forming near the indoor unit.
The Cause: A severely clogged air filter restricts the volume of warm return air flowing over the indoor evaporator coil. Air conditioners do not actually "create" cold air; they remove heat from the air inside your home. Without a constant flow of warm air, the refrigerant inside the evaporator coil drops below freezing. The natural condensation on the coil turns to ice, eventually encasing the entire component in a solid block of ice. This completely blocks airflow and can send liquid refrigerant rushing back to the outdoor compressor, potentially destroying it.
The Solution: Locate your primary air filter and inspect it for heavy dust buildup. Hold it up to a light source; if you cannot see light shining through the media, it is time for a replacement. According to the U.S. Department of Energy, replacing a dirty, clogged filter with a clean one can lower your air conditioner's energy consumption by 5% to 15%.
How to Thaw a Frozen Evaporator Coil Safely
If you discover that your filter is completely blocked and suspect the coil is frozen, you must thaw it safely before attempting to run the system again during peak demand season.
- Turn the AC completely off: Go to the thermostat and switch the cooling mode to "Off." Do not attempt to run the air conditioner while ice is present.
- Turn the fan setting to "On": This forces the indoor blower motor to circulate warm room air over the frozen coils, accelerating the melting process.
- Wait for a full thaw: It can take up to 24 hours for a heavily frozen coil to thaw completely. Keep a close eye on the drain pan, as the melting ice can sometimes overwhelm a sluggish drain line. Do not restart the cooling cycle until you are certain the ice is gone.
Step 3: Examine the Condensate Drain for High-Humidity Blockages
Your air conditioning system manages comfort through two primary functions: lowering the temperature and removing humidity. As warm indoor air passes over the cold evaporator coil, moisture condenses into water droplets, which drip into a drain pan and exit your home through a PVC condensate line.
In our experience serving the local area, summer humidity frequently forces AC units to extract gallons of water daily. We constantly see this regional climate reality make clogged condensate drains a leading cause of sudden system shutoffs. The constant flow of moisture, combined with airborne dust, creates the perfect environment for algae and sludge to grow inside the drain line.
When the drain line clogs, water backs up into the drain pan. Modern HVAC systems are equipped with a condensate float switch—a vital safety device designed to prevent catastrophic water damage to your ceilings and floors. When the water level in the pan rises too high, the float switch trips and instantly cuts low-voltage power to the thermostat, shutting down the entire AC system.
To safely check this, locate the indoor unit (usually in an attic, basement, or utility closet) and look at the secondary drain pan beneath it. If you see standing water, the float switch has likely done its job. You can often clear minor clogs by locating the exterior PVC drain pipe outside your home and attaching a wet/dry vacuum to the end of it for a few minutes to suck out the algae blockage.
Step 4: Verify the Circuit Breaker Hasn't Tripped
Air conditioners draw a massive amount of electrical current, especially upon startup. If the system is overworking due to extreme heat or a failing component, it can draw more amperage than the circuit is rated for, causing the breaker to trip to prevent an electrical fire.
- Locate the main electrical panel: Find your home's main breaker box and open the door. Look for the double-pole breaker labeled "AC," "HVAC," or "Condenser."
- Identify a tripped breaker: A tripped breaker will not be perfectly aligned with the "On" or "Off" position. It usually rests slightly off-center, feeling spongy if you push it.
- Reset the breaker safely: To reset it, you must first push the switch firmly all the way to the "Off" position until it clicks. Then, push it firmly back to the "On" position.
- Monitor the system: Go back to the thermostat and call for cooling. Listen to the outdoor unit.
A strong warning: If the breaker trips immediately again, or trips within a few minutes of the system starting, stop immediately. Do not attempt to reset it a second time. A repeatedly tripping breaker indicates a serious electrical short, a grounded wire, or a failing compressor. Pushing the system further will cause severe damage.
During a recent heat wave, our technicians at Comfort Central Inc. helped a local homeowner who found their AC completely unresponsive due to a tripped breaker. It turned out to be a failing component causing a hard short. While waiting for warrantable parts to arrive, our team provided temporary cooling solutions to keep the home comfortable. When a breaker refuses to stay on, it is time to look into professional AC repair services to diagnose the electrical fault safely.

When to Stop Troubleshooting and Call an Expert
There is a strict boundary between safe, practical DIY checks and mandatory professional intervention. At Comfort Central Inc., our goal is always to prioritize saving you an unnecessary service fee for a simple fix—like a flipped switch or a dirty filter—rather than making a quick sale. However, when troubleshooting points to mechanical failure, transitioning to professional help is an honest necessity, not a high-pressure tactic.
You should immediately stop troubleshooting and call an expert if you notice any of the following danger signs:
- Hissing or bubbling noises: This almost always indicates a refrigerant leak within the copper lines or coils.
- Acrid or burning smells: An electrical burning odor points to a melting wire, a failing capacitor, or a seized blower motor.
- Screeching metal: A loud grinding or screeching sound from the outdoor unit usually means the fan motor bearings are destroyed or the compressor is failing.
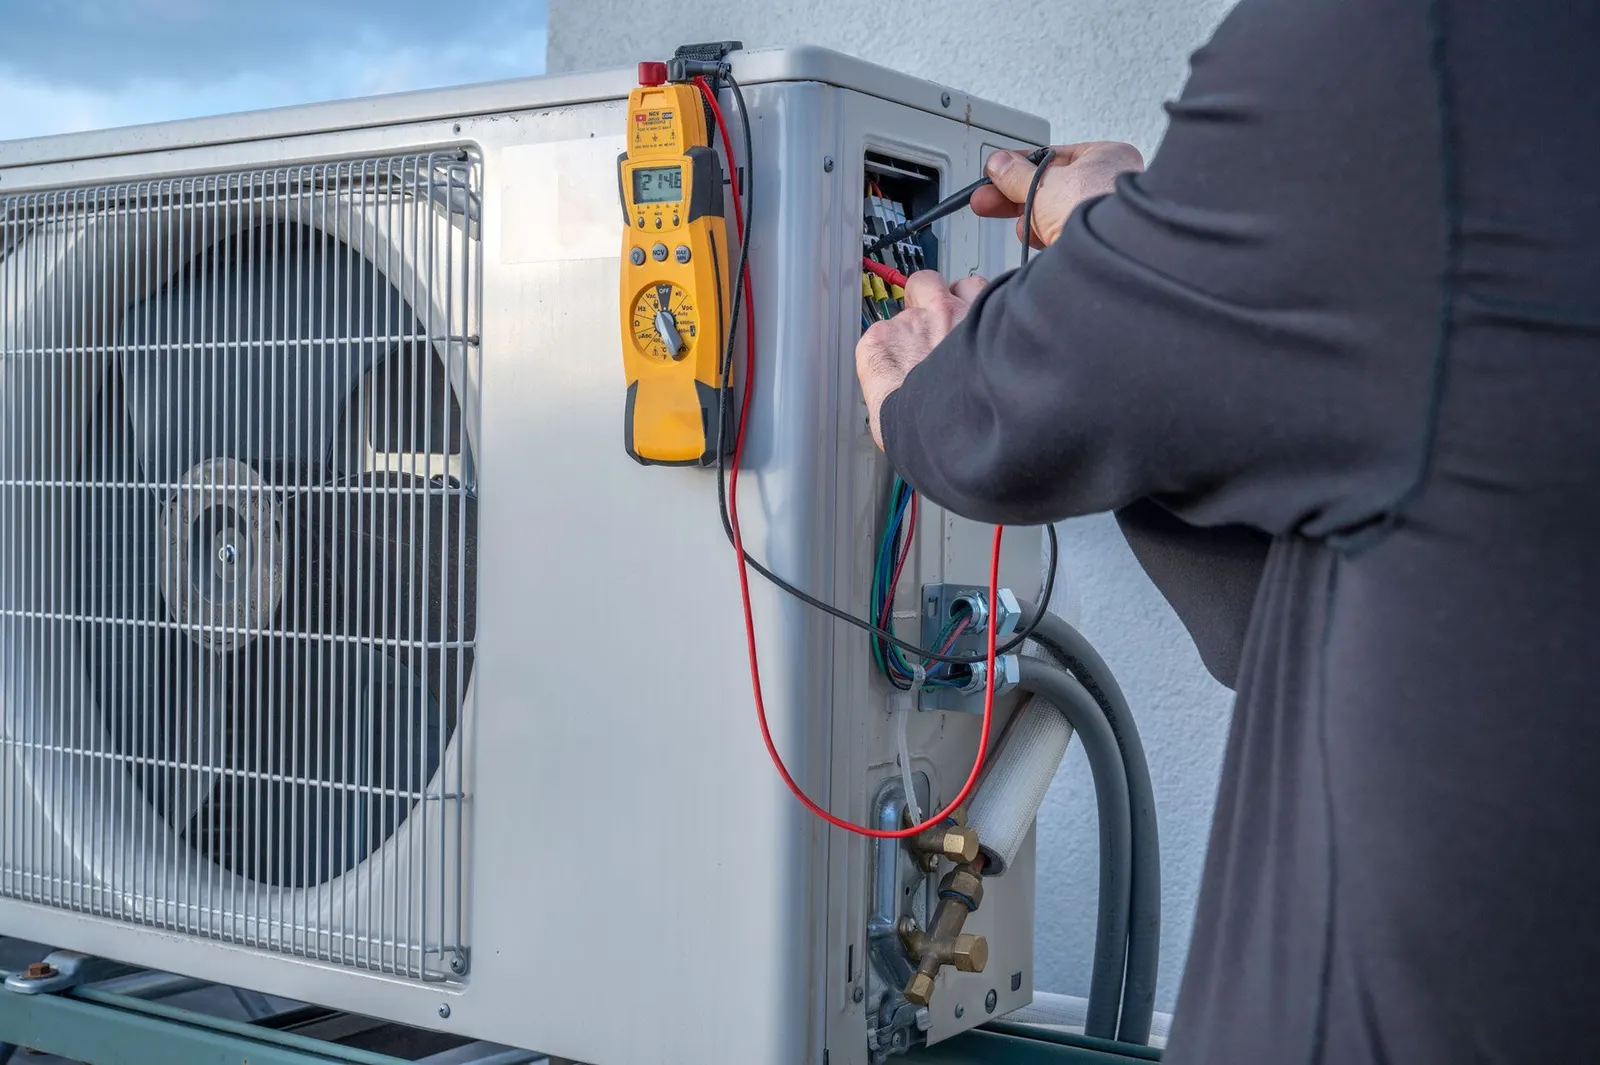
It is critical to avoid illegal or dangerous DIY repairs. Specifically, handling, recovering, or charging refrigerant requires a licensed professional with EPA certification. Refrigerant operates under incredibly high pressure and can cause severe frostbite or blindness if mishandled. Furthermore, pushing a failing system by repeatedly resetting breakers or bypassing safety switches can turn a minor, inexpensive repair into a catastrophic compressor failure. Investing in routine AC maintenance and relying on professional diagnostics ensures the long-term safety and efficiency of your home's cooling infrastructure.
Evaluating if You Need a Full System Replacement
If your diagnostic checks rule out the filter, the breaker, and the thermostat, and a professional confirms a major mechanical failure, you will need to weigh the costs of a major repair against a full system replacement.
Industry professionals often recommend the "5000 Rule" to help homeowners make this financial decision. You multiply the age of the unit in years by the estimated cost of the repair. If the resulting number exceeds 5,000, replacing the system is generally the more financially sound choice. For example, if a 12-year-old system requires a major component replacement, multiplying that repair cost by 12 will often easily exceed 5,000, meaning investing that money into a new, highly efficient system makes more sense than patching a unit nearing the end of its lifespan.
| Factor | Signs to Repair | Signs to Replace |
|---|---|---|
| System Age | Under 10 years old with a solid maintenance history. | Over 10-15 years old and struggling to maintain temperature. |
| Repair Cost | Minor component failure (capacitor, contactor, fan blade). | Major component failure (compressor, evaporator coil leak). |
| Refrigerant Type | Uses modern R-410A refrigerant. | Uses phased-out R-22 (Freon), making recharges incredibly expensive. |
| Energy Bills | Utility costs have remained stable over the past few summers. | Unexplained, massive spikes in monthly cooling costs. |
Frequent breakdowns, despite routine maintenance, strongly signal the end of the equipment's lifespan. Our team recently guided a local family through this exact dilemma during the peak of summer when their aging unit finally gave out entirely. After evaluating the mounting repair costs and the unit's age, they opted for a new HVAC system installation, resulting in restored comfort and significantly lower monthly energy bills.
Modern AC installations offer profound benefits over units built just a decade ago, including variable-speed technology, vastly superior dehumidification capabilities, and higher SEER2 efficiency ratings. Exploring local AC installation considerations during a professional consultation will give you a clear picture of exactly what size and model best fits your home's unique thermal load.
Signs Your AC is Beyond Repair
While many issues can be fixed, certain red flags mean replacement is the only viable path forward. If the system uses phased-out R-22 refrigerant and develops a leak, the cost to patch and recharge the system is often prohibitive due to the scarcity of the gas. Similarly, if the compressor—the heart of the outdoor unit—has failed completely on an out-of-warranty unit, the labor and parts required to replace it usually rival the down payment on a brand-new, highly efficient system.
Make the Right Call for Your Home's Cooling Needs
A quick, sequential diagnostic checklist is the best way to save time and prevent unnecessary service fees. By checking your thermostat, air filter, condensate drain, and circuit breaker, you can resolve the most common airflow and power issues safely on your own.
However, ignoring persistent issues or attempting to bypass safety mechanisms will always cost more in the long run. When simple fixes fail to restore cool air, leaning on professional guidance is the smartest move you can make for your property. An expert technician will provide a transparent, honest evaluation of the system, helping you determine if a simple part swap will suffice or if it is time to consider a professional AC installation. Taking action quickly ensures your home remains a comfortable, safe refuge no matter how hot the weather gets outside.
Frequently Asked Questions
What should I check before calling for AC repair?
Before picking up the phone, check your thermostat settings, inspect your air filter for clogs, and ensure the HVAC circuit breaker hasn't tripped. A large percentage of service calls are resolved by simply replacing a filthy air filter or replacing dead batteries in the thermostat. If these three components are functioning perfectly and the system still fails to cool, it is time to call a professional technician.
Why is my AC blowing warm air?
Warm air from the vents usually indicates a refrigerant leak, a frozen evaporator coil, or a failed outdoor compressor. It can also happen if your thermostat fan setting is switched to "On" instead of "Auto," which forces the blower motor to run even when the cooling cycle is resting. A technician will need to check the refrigerant pressures and electrical components to pinpoint the exact mechanical failure.
How do I reset my AC unit safely?
To reset your AC safely, turn the thermostat to the "Off" position. Next, locate your home's main electrical panel, find the breaker labeled for the AC, flip it firmly to the "Off" position, wait one full minute, and then flip it back to "On." Finally, return to the thermostat, set it back to "Cool," and lower the temperature to see if the system engages properly.
When should I replace my AC instead of repairing it?
You should consider replacing your AC if the unit is over 10 to 15 years old, requires a repair that costs more than half the value of the system, or uses phased-out R-22 refrigerant. The "5000 Rule" is a helpful metric: multiply the unit's age by the estimated repair cost, and if the total exceeds 5,000, replacement is generally the wiser financial investment. Upgrading also provides the immediate benefit of lower monthly energy bills.
Can high humidity cause my AC to shut off completely?
Yes, excessive indoor humidity forces the AC to extract massive amounts of moisture, which can quickly overwhelm or clog the condensate drain line. When the drain pan fills with water, a safety float switch trips and cuts power to the thermostat to prevent the water from overflowing and damaging your home. Clearing the clogged drain line usually restores function to the system.
Is it safe to add refrigerant to my AC system myself?
No, it is neither safe nor legal to handle HVAC refrigerants without proper certification. The Environmental Protection Agency (EPA) mandates that only licensed professionals can purchase, recover, or charge refrigerant due to its environmental impact and the extreme pressures involved. Attempting a DIY recharge can result in severe physical injury or permanently destroy your system's compressor.