
Surviving the Heat: Why Proactive AC Troubleshooting Matters
At Our Company, we’ve spent years helping homeowners throughout the local area survive the summer heat. We know firsthand that before the peak of summer heat arrives, brushing up on home maintenance tips and troubleshooting can mean the difference between a comfortable season and an emergency breakdown. As temperatures begin to climb, your air conditioning system transitions from months of inactivity to running near-constant cycles. Urgent summer heatwaves place an immense load on residential cooling systems, and neglected maintenance is the leading cause of sudden failures. When filters clog and airflow becomes restricted, evaporator coils can quickly freeze solid, turning a minor upkeep issue into a major mechanical failure.
Determining the baseline requirements and scope when hiring professional services in the local area is a critical decision point for any homeowner. Our team typically sees that you need to know the clear difference between basic, routine upkeep that you can handle yourself and the irreversible system failures that require a complete replacement. Taking a structured evaluation approach helps you make informed decisions about your home’s infrastructure rather than reacting in a panic when the house is sweltering.
If you are already noticing signs of system failure, it might be time to evaluate your options for professional HVAC services. A neutral, objective assessment from our experienced technicians is the best way to understand what your home actually needs. By familiarizing yourself with a standard professional services checklist, you can evaluate whether a technician’s recommendations align with standard operational requirements or if it is time to start planning for a new installation.
The Cost of Neglect vs. Proactive Care
Many homeowners assume that as long as cold air is blowing from the vents, the system is perfectly healthy. However, air conditioning units degrade slowly over time. Minor inefficiencies compound, causing the compressor to work harder, draw more electricity, and generate excess wear and tear on moving parts. Proactive troubleshooting allows you to catch these minor inefficiencies before they escalate into catastrophic failures. By understanding the mechanical realities of your cooling system, you protect your investment and maintain a consistent, comfortable indoor environment.
Basic DIY Steps: Home Maintenance Tips and Troubleshooting as Your First Line of Defense
Before assuming your air conditioner has suffered a total failure, there are several foundational maintenance steps you can take. In our years of responding to summer service calls, we’ve found that these basic DIY tasks serve as your first line of defense against poor performance and high utility bills. Walking through these steps systematically can often resolve minor communication errors or airflow restrictions without requiring a service call.
- Checking and replacing air filters: This is the single most important maintenance task for any homeowner. A dirty, clogged filter blocks normal airflow and reduces a system’s efficiency significantly. According to the U.S. Department of Energy, routinely replacing a dirty filter with a clean one can lower your air conditioner’s energy consumption by 5% to 15%. Check your filter monthly during high-use seasons and replace it at least every 90 days.
- Verifying thermostat settings and replacing batteries: Often, what appears to be a total system failure is simply a communication error at the thermostat. Ensure the device is set to “Cool” and that the setpoint is actually lower than the current room temperature. If your thermostat screen is blank or unresponsive, replace the batteries before taking any further action.
- Clearing debris from the outdoor condenser unit: The outdoor unit needs adequate airflow to properly disperse the heat removed from your home. Over the winter and spring, leaves, dirt, and overgrown vegetation can choke the condenser coils. Maintain a minimum clearance of two feet around the entire unit, carefully brushing away loose debris to ensure proper airflow.
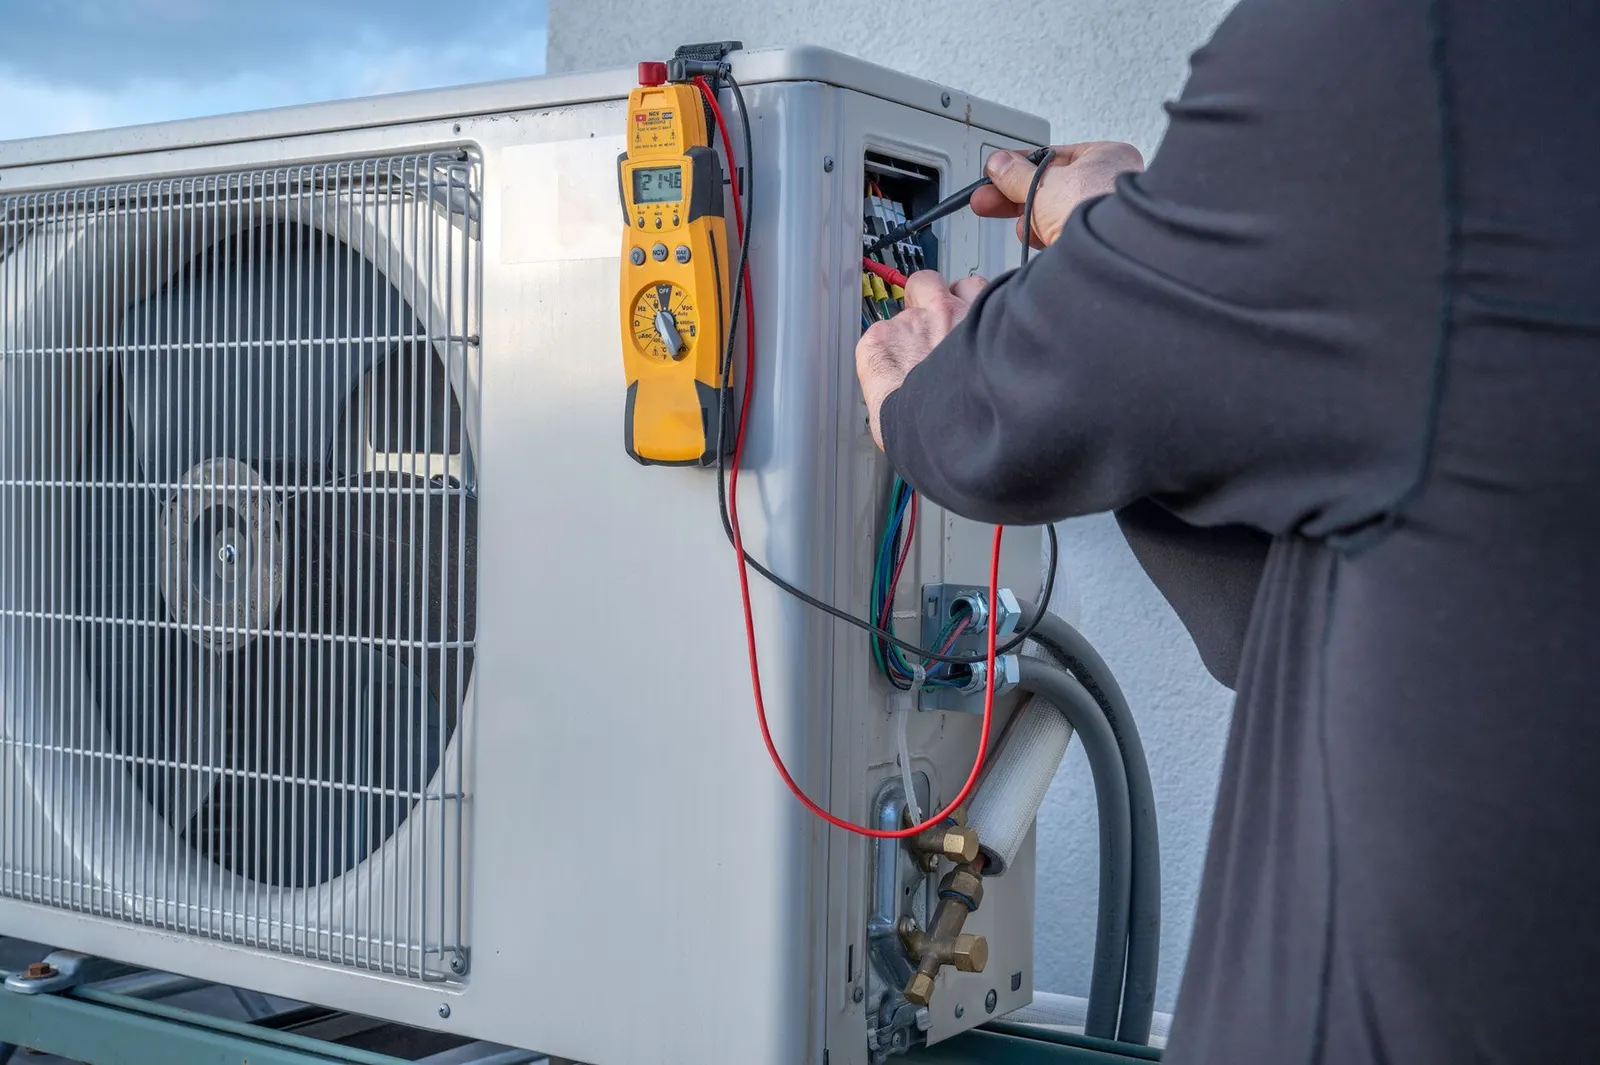
- Resetting tripped circuit breakers safely: An air conditioner draws a significant amount of power, especially during startup. Occasionally, a power surge or a temporary overload can trip the dedicated circuit breaker. Check your home’s electrical panel. If the breaker is tripped, flip it fully to the “Off” position, then back to “On.” If it trips again immediately, do not attempt to reset it a second time—this indicates a serious electrical short that requires professional intervention.
DIY Maintenance vs. Professional Intervention
| Symptom | Likely Cause | Appropriate Action |
|---|---|---|
| Weak airflow from vents | Clogged air filter | Replace filter immediately |
| System completely unresponsive | Dead thermostat batteries or tripped breaker | Replace batteries, check electrical panel |
| Warm air blowing from vents | Dirty condenser coils or low refrigerant | Clear outdoor debris; if unresolved, call a pro |
| Hissing noises or frozen coils | Refrigerant leak or severe restriction | Turn off system, consult a professional |
Recognizing Dehumidification Failures in Humid Climates
The Problem: Your air conditioner is running constantly, and the thermostat reads a cool 72 degrees, but the house feels sticky, clammy, and uncomfortable. This is a classic sign of dehumidification failure. Air conditioning units are designed to manage two types of heat: sensible cooling (lowering the actual temperature you read on a thermometer) and latent heat (removing moisture from the air). When a system fails to manage latent heat, indoor comfort plummets, even if the temperature is technically low.
The Cause: With the hot, humid summers we experience in the local area accelerating AC wear, our technicians frequently notice that managing latent heat becomes just as important as dropping the temperature. If your system is failing to dehumidify the home effectively, it is often a primary troubleshooting indicator of an improperly sized or failing unit. An oversized air conditioner will cool the house too quickly (short-cycling) and shut off before it has had enough time to draw moisture out of the air. Conversely, an aging system with a failing compressor may lack the power to properly chill the evaporator coils, meaning condensation never forms and humidity stays trapped indoors.
The Solution: Recognizing poor dehumidification is a critical transition point from basic maintenance expectations to acknowledging the need for a system replacement. If you have already replaced your filters, cleared your condensate drain line, and ensured your blower motor is operating at the correct speed, persistent high humidity is a mechanical red flag. At this stage, referencing a standard professional services checklist can help you determine if your current unit’s capacity is fundamentally mismatched to your home’s cooling load.
The Science of Latent Cooling
To understand why dehumidification matters, it helps to look at how your AC actually works. Warm indoor air is pulled across the indoor evaporator coil, which is filled with cold refrigerant. As the air passes over the coil, two things happen: the air loses its heat, and the moisture in the air condenses into liquid water on the cold metal (much like water beads on a cold glass of iced tea). This water then drips into a pan and drains away. If the system does not run long enough, or if the coil does not get cold enough due to mechanical wear, this condensation process never occurs. This is why addressing humidity is a central part of comprehensive home cooling strategies.
When Troubleshooting Ends: Identifying Irreversible System Failure
There comes a point where changing filters and clearing brush is no longer enough. Providing objective technical breakdowns of when DIY ends and professional installation begins is essential for protecting your home and your wallet. Knowing the signs of irreversible system failure prevents you from pouring money into a machine that is fundamentally broken.
One of the most definitive signs of failure is identifying frequent refrigerant leaks or persistently frozen coils. The refrigerant in your air conditioner operates in a closed loop; it is never “used up” like gas in a car. If your system is low on refrigerant, there is a physical hole in the copper lines or the coils. While a single tiny leak can sometimes be patched, multiple leaks in an aging, corroded coil often mean the component must be replaced entirely. Because older refrigerants are being phased out by environmental regulations, replacing a leaking coil is often less cost-effective than upgrading the entire system.
Another major red flag is continuous short-cycling despite clean filters and clear condensers. Short-cycling occurs when the compressor turns on, runs for only a few minutes, and abruptly shuts off, repeating this process endlessly. This places devastating wear on the compressor, the heart of your cooling system. Compressor failures represent the absolute limit of cost-effective repairs. When a compressor seizes or burns out, the cost of the part and the labor required to replace it usually exceeds the value of the aging unit.
Evaluating Age vs. Efficiency
Finally, you must evaluate the age of the unit versus significant drops in efficiency. Most traditional central air conditioning systems are designed to last 10 to 15 years. A pattern we see often in the local area is that if your unit is approaching or has passed this milestone, its internal components are naturally degrading. You may notice your utility bills creeping higher each summer even though your usage habits haven’t changed. When a system is over a decade old and requires a major repair—such as a new blower motor, a replacement coil, or a new compressor—objective troubleshooting dictates that investing in a high-efficiency replacement is the more financially sound decision over the long term.
Evaluating the Scope for a New System
Once you have determined that your current air conditioner has reached the end of its operational lifespan, the next step is evaluating the scope for a new system. This requires objective criteria for assessing AC performance and preparing your home for an upgrade. You cannot simply swap a new box for the old box; a proper installation requires precise calculations to ensure the new equipment matches your home’s specific thermal dynamics.
The first critical step is assessing current airflow and cooling loads objectively. A home’s cooling load is a measurement of how much heat needs to be removed to maintain a comfortable temperature. This calculation factors in the square footage of your home, the height of your ceilings, the quality of your insulation, the number and orientation of your windows, and even the local climate. According to EPA Energy Star Guidelines, properly sized systems operate significantly more efficiently than oversized or poorly maintained units. An oversized unit will short-cycle, failing to dehumidify the air, while an undersized unit will run constantly, driving up energy bills and burning out prematurely.
Understanding the technical limits of ongoing repairs helps you mentally prepare for this transition. If your ductwork is undersized or leaking, installing a high-efficiency air conditioner will not solve your comfort issues. The ductwork must be evaluated and potentially sealed or modified to handle the airflow requirements of modern, multi-stage cooling systems. Preparing the home for a comprehensive system upgrade means looking at the HVAC system as a complete, interconnected network rather than just a single appliance.
If you are gathering information on what this process looks like in your specific region, researching the nuances of AC installation in Hagerstown can provide valuable context on local building codes and climate considerations. A thorough evaluation ensures that your new system will provide reliable, efficient cooling for the next decade or more.
The Standard Professional Services Checklist for Installation
When you transition from troubleshooting to actively seeking a replacement, knowing what to expect from a reputable contractor is vital. Delivering a flawless installation requires strict adherence to industry best practices. Working with Our Company means that our trusted local experts will walk through this checklist with you, explaining the technical details without resorting to high-pressure sales tactics. Here is the standard professional services checklist you should expect during an installation evaluation:
- Pre-installation load calculation and accurate system sizing: The technician must perform a formal Manual J load calculation. They should measure your home, inspect insulation levels, and evaluate window efficiency to determine the exact tonnage required. Guessing based on the size of the old unit is unacceptable.
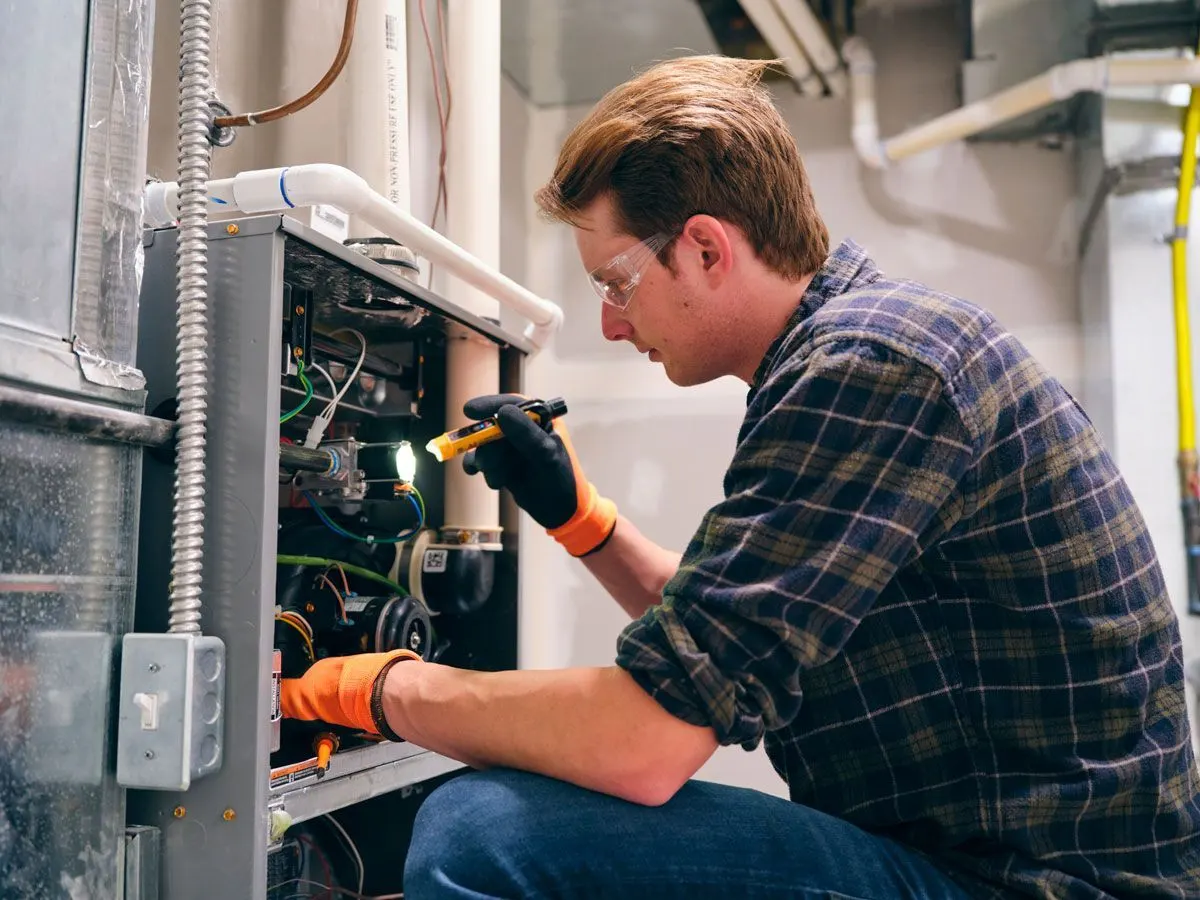
- Comprehensive inspection of existing ductwork and ventilation: The contractor must check your static pressure and evaluate the condition of your air ducts. Leaky or undersized ductwork will choke a new, high-efficiency system, preventing it from delivering the rated performance.
- Safe removal and disposal of the old air conditioning unit: The process must include the safe recovery of old, environmentally harmful refrigerants in accordance with EPA regulations. The old equipment, including the heavy outdoor pad and indoor coil, should be removed and recycled properly.
- Post-installation system testing and thermostat calibration: Once the new unit is piped, wired, and charged, the technician must run the system through a full cycle. This includes measuring the temperature drop across the coil, checking the electrical draw of the compressor, verifying proper airflow at the registers, and calibrating the thermostat to ensure precise communication.
By holding your service provider to this standard professional services checklist, you guarantee that your investment is protected and that the installation is performed safely and correctly.

Take the Next Step Toward Reliable Home Cooling
Knowing when to stop troubleshooting and start planning for a replacement is the most valuable home maintenance skill you can develop. By monitoring your system’s performance, replacing filters regularly, and paying attention to warning signs like poor dehumidification and short-cycling, you can avoid the stress of an unexpected summer breakdown. The key is making an informed decision based on objective, technical criteria rather than waiting for a total mechanical failure.
If your current air conditioner is struggling to keep up, or if you are facing costly repairs on an aging unit, applying these home maintenance tips and troubleshooting strategies will help you see the reality of your system’s health. You deserve a clear, well-structured technical explainer that outlines exact criteria and next steps without sales pressure. When you are ready to evaluate your home’s cooling load and explore high-efficiency replacement options, reach out to our team of professionals to schedule an installation estimate and take the next step toward reliable, uninterrupted comfort.
Frequently Asked Questions
How do I troubleshoot my AC unit?
The best way to troubleshoot your AC unit is to start with the simplest components first. Begin by checking your thermostat to ensure it is set to “Cool” and has fresh batteries, then inspect your air filter and replace it if it is dirty. Next, verify that the circuit breaker hasn’t tripped and clear any leaves or debris away from the outdoor condenser unit. If these foundational steps do not restore proper cooling, the issue is likely a mechanical or electrical fault that requires professional diagnostics.
What is the most common maintenance issue with AC?
The most common maintenance issue with AC systems is restricted airflow caused by a clogged air filter. When the filter is packed with dust and pet dander, the blower motor has to work significantly harder to pull air through the system, which increases energy consumption and strain. Over time, this lack of airflow can cause the indoor evaporator coil to drop below freezing, leading to a solid block of ice that completely halts the cooling process.
How do I know if my AC needs maintenance or replacement?
You will know your AC needs replacement rather than simple maintenance when repairs become frequent, expensive, and the unit is over 10 to 15 years old. Maintenance is appropriate for minor issues like dirty coils, clogged drain lines, or worn capacitors. However, if your system suffers a major compressor failure, has severe refrigerant leaks in the coils, or fails to dehumidify the home despite routine upkeep, investing in a new installation is the most cost-effective long-term solution.
What is a standard professional services checklist for HVAC?
A standard professional services checklist for HVAC installation includes a rigorous pre-installation load calculation to ensure accurate system sizing based on your home’s specific measurements. It also requires a comprehensive inspection of existing ductwork, the safe and EPA-compliant removal of the old unit and refrigerant, and thorough post-installation testing. This final testing verifies correct airflow, electrical draw, and thermostat calibration to guarantee the new system operates at peak efficiency.
Can a poorly maintained AC cause high energy consumption?
Yes, a poorly maintained AC is one of the leading causes of high energy consumption in a home. When components like condenser coils are covered in dirt or air filters are clogged, the system loses its ability to transfer heat efficiently. This forces the compressor to run for much longer cycles to reach the target temperature, drawing excessive electricity and significantly inflating your monthly utility bills.
What baseline requirements should I look for in an AC installation?
The primary baseline requirement for an AC installation is a formal load calculation (Manual J) to determine the exact tonnage your home requires, rather than just guessing based on square footage. You should also look for a contractor who evaluates your existing ductwork to ensure it can handle the airflow of a modern system. Finally, transparent pricing, clear warranties, and a commitment to post-installation testing are essential requirements for a reliable, professional installation.