
Diagnosing Air Conditioning Failures Before Committing to a Replacement
Your air conditioner is running constantly, but the house still feels warm, leaving you searching for reliable home maintenance tips and troubleshooting just to get through the afternoon. Few things are more frustrating than an underperforming cooling system during peak heat. You adjust the thermostat, check the vents, and listen to the unit straining, but the indoor temperature refuses to drop. Before you panic and assume the entire system is a total loss, you need an objective diagnostic framework to evaluate the situation.
When reviewing general educational queries online, we see a clear pattern: homeowners want to know exactly what is failing before they talk to a contractor. This is a smart approach. Jumping straight to a system replacement without understanding the root cause of the failure often leads to unnecessary expenses. An objective evaluation helps you separate minor, easily fixable issues from catastrophic breakdowns.
The goal is to establish a clear baseline of your system’s health. Is the unit simply suffocating from a lack of airflow, or has the compressor finally reached the end of its mechanical life? By walking through a structured series of checks, you protect yourself from premature replacements and gain the knowledge needed to make a sound financial decision. If basic fixes do not resolve the issue, exploring our comprehensive HVAC services is the logical next step to properly assess the equipment and determine if a professional installation is required.
Initial Troubleshooting: Isolating Minor Repairs from Major System Failures
Before you call a professional, there are several safe, straightforward checks you can perform. These steps help isolate minor wear-and-tear issues from major mechanical failures. If you discover a simple oversight—like a tripped breaker or a clogged filter—you can restore your home’s comfort immediately. However, if these checks reveal deeper issues, it is time to schedule your AC installation consultation.
The quick fix: Always start with your power sources and airflow pathways. A surprising number of service calls are resolved by simply resetting a breaker or replacing a dirty air filter that has choked the system.
| The Problem You Notice | Potential Root Cause | Troubleshooting Solution |
|---|---|---|
| System blowing warm air | Clogged air filter restricting airflow | Turn off the unit, check the filter, and replace it if it is gray or heavily coated in dust. |
| Unit will not turn on at all | Tripped circuit breaker or blown fuse | Check your main electrical panel. Reset the dedicated HVAC breaker if it has tripped. |
| Thermostat screen is blank | Dead batteries or lost connection | Replace the thermostat batteries. If hardwired, verify the breaker is on. |
| Loud rattling or buzzing noise | Loose cabinet panel or debris in fan | Inspect the outdoor unit for sticks or leaves. Tighten any visibly loose exterior screws. |
| Harsh grinding or squealing noise | Failing compressor or worn blower motor | Turn the system off immediately to prevent further damage and call a professional. |
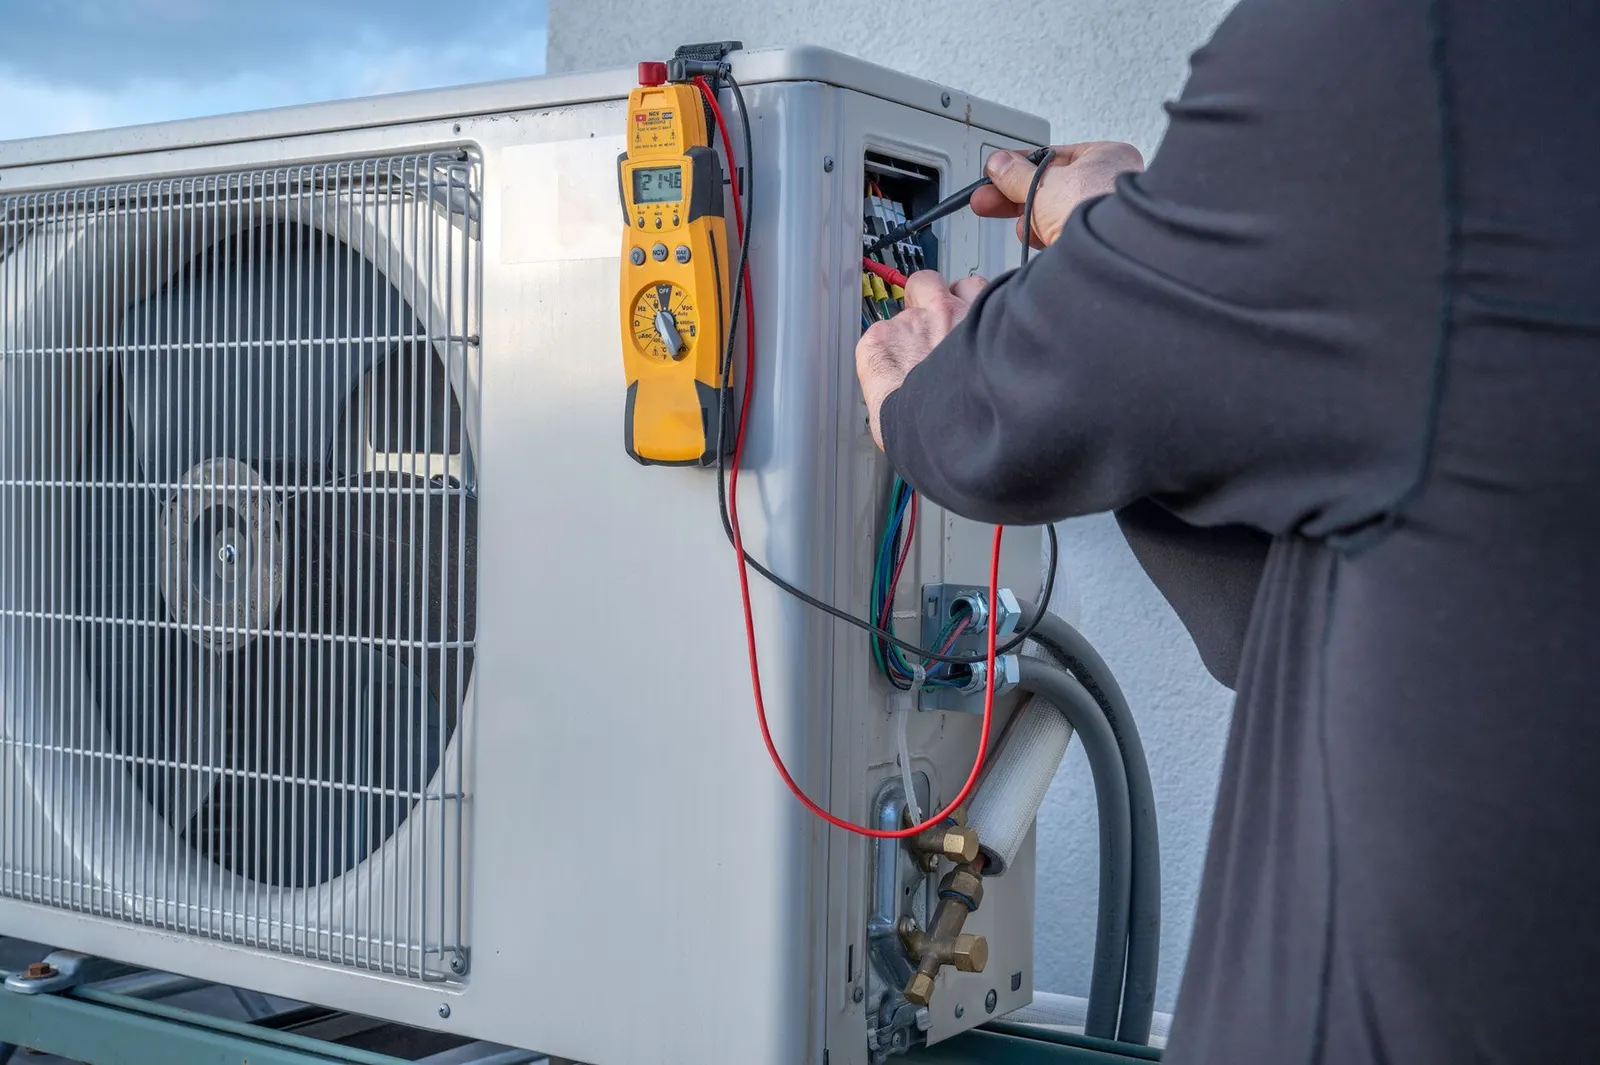
It is important to recognize the boundary between basic homeowner maintenance and professional diagnostics. You can safely change filters, clear brush away from the outdoor condenser, and verify thermostat settings. You should never attempt to open the sealed electrical panels, handle high-voltage wiring, or check refrigerant pressures. Pressurized refrigerants require specialized EPA certification to handle safely. Once you have ruled out the simple causes listed above, the diagnostic process must transition to a licensed technician.
Signs Your System Requires Professional AC Replacement
If initial troubleshooting does not solve the problem, you may be facing a system that has simply reached the end of its operational life. Recognizing the definitive signs of failure helps you prepare for the next steps. According to the U.S. Department of Energy, the average lifespan of a central air conditioning unit is 15 to 20 years with proper maintenance. Once your equipment crosses this threshold, the conversation naturally shifts from ongoing repairs to a full replacement.
- Age of the equipment: If your system was installed more than 15 years ago, its internal components are likely operating on borrowed time. The compressor, coils, and blower motor endure immense stress over thousands of cycles, and efficiency drops significantly in the final years of life.
- Frequent, compounding repair costs: A single repair is manageable, but if you find yourself paying for a new capacitor in May, a refrigerant top-off in June, and a blower motor repair in July, those costs compound quickly. A common rule of thumb is that if the cost of a repair multiplied by the age of the unit exceeds $5,000, replacement is the smarter financial move.
- Rising energy bills: If your utility costs are climbing steadily each summer despite your usage habits remaining the same, your system is working harder to produce the same amount of cooling. This loss of efficiency indicates severe internal wear.
- Inconsistent temperatures: When the system can no longer maintain an even temperature across different rooms, or if it struggles to cool the house during the hottest part of the day, the compressor is likely losing its pumping capacity.
Last summer, a typical pattern we see played out when a homeowner needed to replace a central AC unit that had failed completely during a severe heat wave. After evaluating the signs and confirming the compressor was dead, a professional crew provided an objective quote and installed the new equipment efficiently, restoring the home’s comfort without delay. If you are noticing these same warning signs, looking into professional AC installation in Charles Town, WV can help you transition smoothly to a reliable, modern system.

The Crucial Role of System Sizing in Humidity Control
One of the most misunderstood aspects of replacing an air conditioner is the importance of properly sizing the new equipment. Bigger is not better. In fact, an oversized AC unit is a technical flaw that directly impacts your daily comfort and indoor air quality.
Air conditioners perform two distinct jobs: sensible cooling (lowering the temperature) and latent cooling (removing moisture from the air). With summer temperatures regularly exceeding 90 degrees and relative humidity frequently surpassing 70 percent in the Mid-Atlantic region, managing that moisture is just as critical as cooling the air.
If an air conditioner is too large for your home’s square footage and layout, it will cool the air very quickly and shut off. This is known as short-cycling. Because the system does not run long enough to pull the heavy, humid air over the cold evaporator coil, the moisture remains trapped inside your home. The result is a house that feels cold but clammy, often leading to musty odors and poor indoor air quality.
Proper load calculations ensure the system is perfectly matched to your home’s unique thermal dynamics. This calculation accounts for your home’s orientation, window quality, insulation levels, and local climate data. According to industry data, improper installation and sizing can reduce overall system efficiency by up to 30 percent. Ensuring precise sizing is a core component of proper residential AC installation in Frederick, guaranteeing that your new system runs long enough to extract humidity while maintaining a perfectly balanced temperature.
Evaluating New Equipment: SEER2 Ratings and Efficiency Standards
Once you understand the importance of sizing, the next step is evaluating the efficiency of the new equipment. Modern air conditioners are rated by the Seasonal Energy Efficiency Ratio 2 (SEER2). This updated metric measures how much cooling a system produces for each unit of electrical energy it consumes over a typical cooling season.
The SEER2 standard uses stricter testing conditions than the older SEER ratings, better mimicking real-world ductwork pressures. The higher the SEER2 rating, the more efficient the system. When choosing a replacement, you must balance the upfront installation costs with the projected operational savings. A baseline 14.3 SEER2 unit will cool your home effectively and meet federal minimums, but upgrading to a 16 or 18 SEER2 system with a two-stage or variable-speed compressor will yield significantly lower monthly utility bills and better humidity control.
You also have options regarding the type of system you install. While traditional central air conditioning is the most common, homes with unique layouts or older architecture might benefit from alternative solutions. For instance, one spring installation in Northgate involved an unusual architectural setup that required a completely new system approach. After installing the new high-efficiency equipment and showing the homeowner how to use a modern programmable thermostat, the system worked perfectly, lowering electric bills and increasing overall comfort. If your home lacks traditional ductwork, exploring options like adding AC to a house without vents through ductless mini-splits can provide the same high-efficiency cooling without major renovations.
What to Expect During the AC Installation Process
The day your new system is installed should be a smooth, highly coordinated process. Understanding what happens step-by-step demystifies the experience and highlights the value of objective, professional service. Working with a trustworthy team that relies on an honest, family-valued approach ensures you experience a no-pressure environment and transparent timelines on installation day.
- Site preparation and safety checks: The installation crew arrives, reviews the job scope with you, and lays down protective floor coverings to keep your home pristine. Power to the HVAC system is verified and safely disconnected at the breaker panel.
- Safe removal of old equipment: The technicians use specialized recovery machines to safely extract and contain the old refrigerant, complying with strict EPA regulations. The old outdoor condenser and indoor air handler (or evaporator coil) are then disconnected and removed from the property for proper recycling.
- Setting and configuring the new system: The new outdoor pad is leveled, and the new condenser is set in place. Inside, the new air handler or coil is fitted to your existing ductwork. The team carefully brazes the copper refrigerant lines, flowing nitrogen through the pipes to prevent oxidation and ensure a clean system interior.
- Electrical connections and vacuum testing: High-voltage and low-voltage wiring are connected. A deep vacuum is pulled on the refrigerant lines to remove any microscopic moisture or non-condensable gases, which is vital for the longevity of the new compressor.
- Charging and final calibration: The system is charged with the exact amount of factory-specified refrigerant. The technicians turn the system on, test the airflow across all vents, calibrate the thermostat, and measure the temperature drop to ensure peak performance.
- Final walkthrough: The work area is cleaned completely. The lead technician walks you through the new system, explains how to operate the thermostat, and reviews your warranty documentation.
This thorough, methodical approach is what separates a standard job from a great customer experience. For example, during a summer replacement for a loyal customer of over 10 years, the focus remained entirely on providing expert service and professionalism. The result was a flawless installation, leaving the homeowner extremely happy with the new HVAC system and confident in its long-term reliability.
Common Questions About Diagnostics and AC Installation
How do I know if my AC needs to be replaced?
The most reliable indicators are the age of the unit and the frequency of recent repairs. If your system is over 15 years old and you are facing a repair bill that exceeds a third of the cost of a new unit, replacement is generally the smarter investment. Rising energy bills and an inability to cool the home evenly are also strong signs that the internal components are failing.
What happens during AC installation?
The process begins with the safe removal and disposal of your old condenser and indoor coil, including the careful recovery of old refrigerant. The team then sets the new equipment, brazes the copper lines, connects the electrical components, and pulls a vacuum on the system. Finally, the unit is charged with new refrigerant, and the airflow and thermostat are thoroughly tested and calibrated.
How long does it take to install a new AC?
Most standard residential air conditioning installations are completed in a single day, typically taking between six to eight hours. However, if the job requires complex ductwork adaptations, relocating the outdoor unit, or upgrading electrical panels, the timeline may extend into a second day.
Can I install my own AC unit?
No, installing a central air conditioning system is not a DIY project. It requires handling high-voltage electricity, brazing copper lines, and managing highly pressurized refrigerants that require EPA certification. Furthermore, attempting to install the equipment yourself will immediately void the manufacturer’s warranty.
How does proper AC sizing affect home humidity?
An air conditioner must run long enough to pull warm air over the cold indoor coil, which is how moisture is extracted from your home. If a unit is oversized, it cools the house too quickly and shuts off before it can remove that humidity, leaving your home feeling cold but damp and uncomfortable.
What is the difference between SEER and SEER2 ratings?
Both ratings measure cooling efficiency, but SEER2 is the newer, stricter standard implemented by the Department of Energy. SEER2 testing uses higher static pressure conditions that more accurately reflect the real-world ductwork found in most homes, providing a more realistic measurement of how much energy the system will actually consume.
Taking the Next Step Toward Reliable Home Cooling: Beyond Home Maintenance Tips and Troubleshooting
Navigating an underperforming cooling system does not have to be a stressful, high-pressure experience. By starting with a clear, unbiased explanation of how the system works and what might be wrong, you can make informed decisions about your home’s comfort. Whether a simple filter change resolves the issue or the symptoms point directly to a failing compressor, having an objective diagnostic framework puts you in control.
If you have exhausted basic home maintenance tips and troubleshooting, and your system is showing definitive signs of failure, it is time to look at your replacement options. Use this knowledge to explore modern, properly sized equipment that will manage humidity, lower your utility bills, and restore peace of mind to your home.