
Decoding System Failures: When to Troubleshoot and When to Replace
Your AC is running nonstop, but the house still feels warm, leaving you searching for home maintenance tips and troubleshooting just to get through the afternoon. That strange, metallic noise coming from the outdoor unit isn’t going away on its own, and the rising indoor temperature is quickly becoming a serious comfort issue. When your cooling system struggles during peak heat, it is easy to feel frustrated and overwhelmed by the sudden disruption to your daily routine.
Before you make any drastic decisions, it helps to understand the baseline requirements for a healthy central air system. Every functional air conditioner relies on a precise balance of unobstructed airflow, proper electrical communication, and pressurized refrigerant. When one of these elements falls out of balance, the entire system suffers. The critical decision point you face is distinguishing between a simple maintenance fix that you can handle, a mechanical failure requiring professional repair, or a complete system collapse that warrants a replacement.
If you are exploring general educational queries for local services, you are already taking the right step. Understanding how your system operates empowers you to make objective, pressure-free decisions about your home’s comfort. For comprehensive support, you can always rely on professional HVAC and plumbing services to evaluate your system’s health.
Safe Troubleshooting Boundaries for Homeowners
When your system stops cooling, it is natural to want to fix the problem immediately. However, modern air conditioning systems operate using high-voltage electricity and highly pressurized, environmentally regulated chemicals. Knowing what you can safely check yourself—and what requires a licensed professional—is critical for your safety and the longevity of your equipment. Routine maintenance is highly effective; in fact, staying on top of basic upkeep helps preserve up to 95% of a system’s original efficiency.
Here are the safe, foundational checks you can perform before calling a technician:
- Inspect your air filter: A clogged filter is the most common culprit behind a freezing evaporator coil. Check your filter monthly and replace it if you cannot see light through the media.
- Verify thermostat settings: Ensure the thermostat is set to “Cool” and the fan is set to “Auto.” A fan set to “On” will blow unconditioned air between cooling cycles, making the house feel warmer.
- Check the electrical panel: Locate your home’s main circuit breaker box. If the breaker labeled for the AC is tripped, flip it completely off, then back on. If it trips again immediately, do not reset it—this indicates a serious electrical short.
- Examine the outdoor unit: Walk outside and look at the condenser cabinet. Ensure it is free of overgrown vegetation, leaves, and debris. The system needs at least two feet of clear space to exhaust heat properly.
Step 1: Air Filter and Airflow Inspection
Airflow is the lifeblood of your cooling system. When an air filter becomes heavily caked with dust and pet dander, the system’s blower motor has to work twice as hard to pull air through the return vents. This restriction causes the temperature of the indoor evaporator coil to drop below freezing. Moisture in the air then freezes directly onto the coil, turning it into a block of ice and completely blocking cool air from reaching your rooms. Visual cues that a filter needs immediate replacement include a dark gray or black surface, visible dust buildup on the return grille, or a noticeable drop in airflow from your supply vents.
Step 2: Thermostat and Power Verification
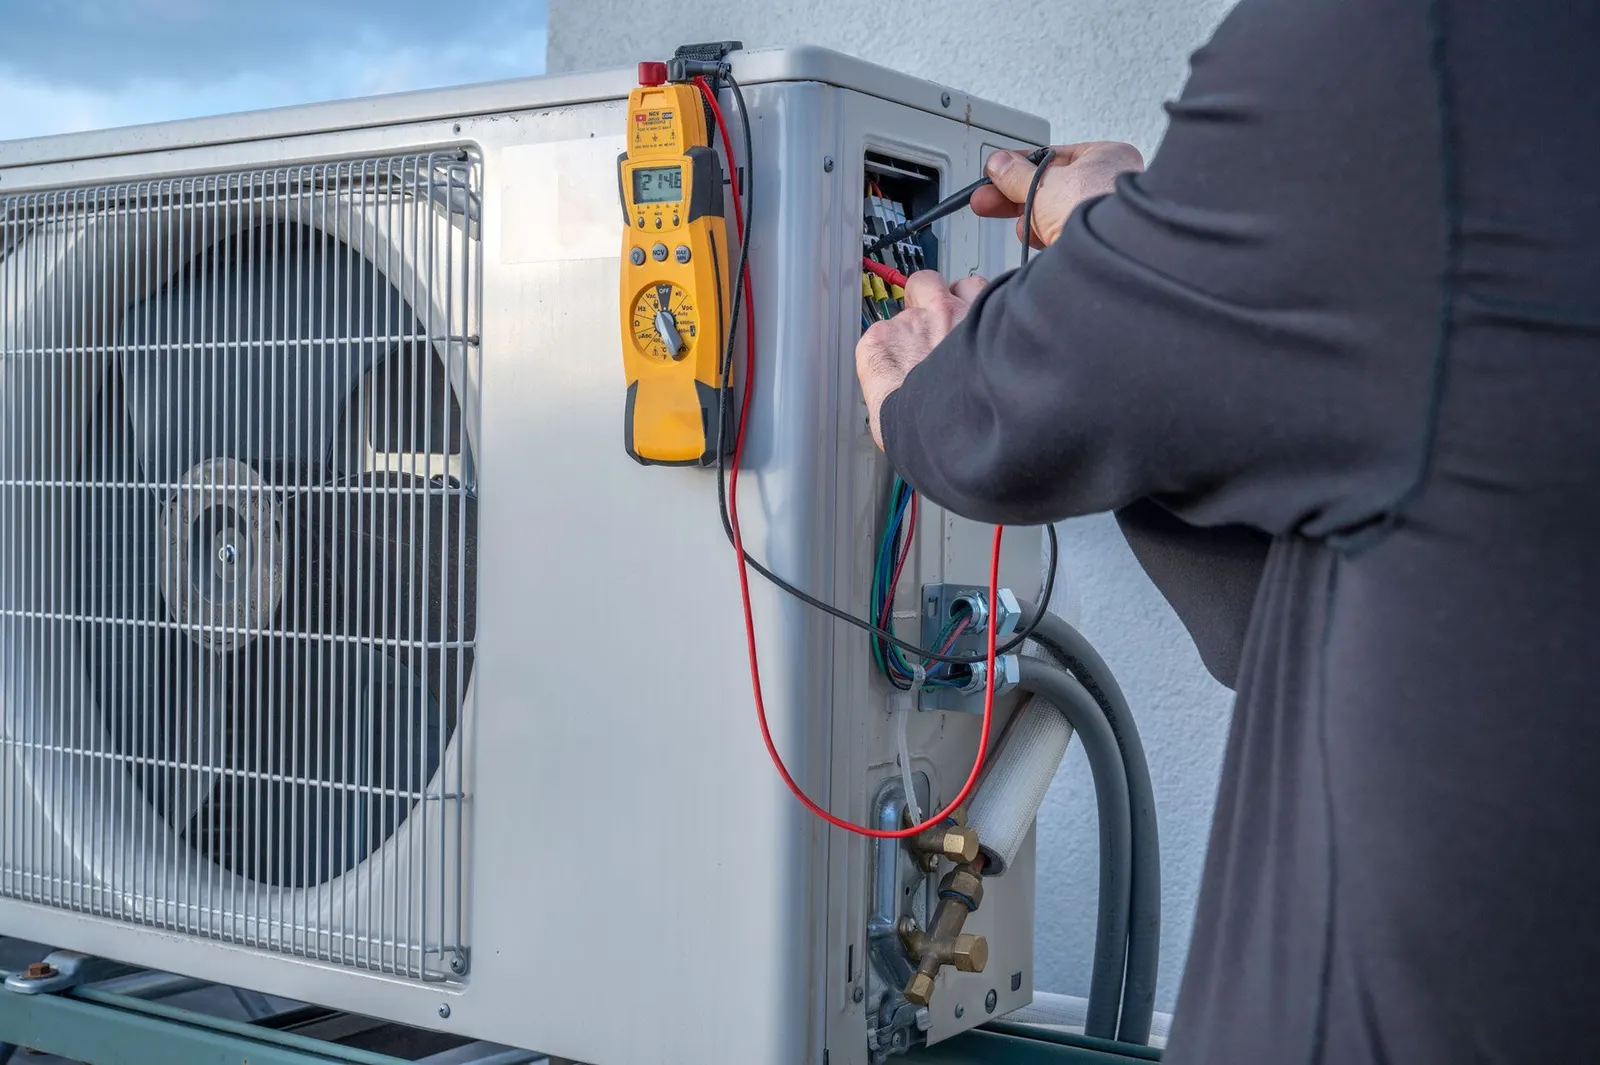
Sometimes, the issue originates at the control center rather than the heavy machinery. If your thermostat has a blank screen, it may simply need fresh batteries, or it may have lost its low-voltage connection to the indoor air handler. Check for any disconnected communication wires if the faceplate is easily removable. Additionally, you can safely confirm the status of the outdoor unit’s safety disconnect box—usually mounted on the exterior wall near the condenser—to ensure the switch hasn’t been pulled or flipped off during recent landscaping work. Never open the electrical panels on the equipment itself.
The Mechanics of System Failure: Running But Not Cooling
One of the most confusing scenarios is when you hear the system running, but the air coming out of your vents is lukewarm. To understand why this happens, you need a basic grasp of the refrigeration cycle. Your air conditioner does not actually “create” cold air; instead, it absorbs heat from inside your home and pumps it outside. This process relies on a continuous loop of refrigerant traveling between the indoor coil and the outdoor condenser.
When a system runs without cooling, it usually points to a breakdown in this heat-transfer cycle. Below is a breakdown of common symptoms, their underlying causes, and the necessary solutions.
| Symptom | Underlying Cause | Professional Solution |
|---|---|---|
| Hissing sounds and warm air | A microscopic leak in the copper refrigerant lines or coils. | Locating the leak, repairing the copper, and recharging the system to factory specifications. |
| Loud grinding or clicking outside | A failing compressor struggling to pressurize the refrigerant. | Compressor replacement or full system replacement, depending on the unit’s age. |
| Weak airflow with a damp smell | A frozen indoor evaporator coil caused by restricted airflow. | Thawing the system, replacing filters, and cleaning the blower motor assembly. |
| Outdoor fan runs, but no humming noise | A blown dual-run capacitor preventing the compressor from starting. | Testing electrical loads and replacing the faulty capacitor. |
Compressor and Condenser Issues
The outdoor unit, or condenser, is responsible for releasing the heat absorbed from your home into the outside air. Inside this metal cabinet sits the compressor, which acts as the heart of the system, pumping refrigerant under high pressure. If the outdoor coil is blanketed in dirt, cottonwood seeds, or lawn clippings, the heat cannot escape. The compressor then overheats, triggering internal safety switches that shut it down. The outdoor fan will continue to spin, making you think the system is working, but without the compressor running, no cooling takes place. This is why keeping the outdoor unit clean is a non-negotiable part of system longevity.
The Impact of Mid-Atlantic Humidity on Cooling Efficiency
Air conditioners serve a vital dual purpose: they cool the air, and they dehumidify it. The process of lowering the indoor temperature naturally pulls moisture out of the air, which then drains away outside. This dehumidification process is just as important as the temperature drop when it comes to your actual physical comfort.
With Mid-Atlantic summer relative humidity frequently exceeding 70%, your cooling system faces an immense workload. High humidity forces the system to work much harder to achieve a comfortable perceived temperature. When the air is thick with moisture, your sweat cannot evaporate easily, making a 75-degree room feel incredibly sticky and warm. To combat this, a properly functioning system must run in long, steady cycles to extract that heavy moisture.
Excessive moisture also accelerates wear and tear on aging components. Condensate drain lines are more prone to clogging with algae, and metal components face a higher risk of corrosion. This heavy regional workload highlights the importance of proactive checks before mid-summer heat waves arrive. If your system is already struggling to remove humidity in May, it will likely fail entirely when the severe July heat sets in.
5 Objective Signs Your System Requires Professional Replacement
Recognizing when a system has reached the end of its viable lifespan can save you from throwing money at a losing battle. While a single broken part can often be repaired, compounding failures indicate a system in decline. Here is a clear, objective checklist to help you determine if it is time to move on from your current unit.
- Age of the unit: Standard central air conditioners last 10 to 15 years. Once a system passes the decade mark, major components like the compressor and evaporator coil begin to degrade naturally due to constant thermal stress.
- Frequency of repairs: The compounding cost of fixing an aging system rarely makes financial sense. If you are scheduling multiple service calls a year, or if a single repair costs more than a third of the price of a new unit, replacement is the more economical choice.
- Rising energy costs: Declining efficiency directly impacts your monthly utility bills. As motors wear out and coils corrode, the system draws more electricity to produce the same amount of cooling. Unexplained spikes in your summer electric bill are a major red flag.
- Inconsistent temperatures: Hot and cold spots throughout the house indicate failing capacity. When an older system can no longer push conditioned air evenly to the furthest rooms in your ductwork, its structural integrity is compromised.
- Use of phased-out refrigerants: Older systems often rely on outdated refrigerants (like R-22) that are no longer manufactured. The regulatory and financial implications of these older coolants mean that even a minor leak can result in astronomical recharge costs.
If you recognize several of these symptoms in your own home, it is time to contact us to schedule your AC installation evaluation.

The Mechanics of Proper System Sizing and Longevity
Replacing an air conditioner is not just about swapping one metal box for another; it requires precise mathematical sizing to ensure long-term comfort and efficiency. One of the most common mistakes in the industry is installing a unit that is too large for the home. A trustworthy, family-valued approach prioritizes correct mathematical sizing over quick, high-pressure sales of oversized units. Bigger is absolutely not better when it comes to climate control.
When a system is oversized, it suffers from a condition called “short-cycling.” The massive unit blasts the house with cold air, dropping the temperature rapidly and shutting off within ten minutes. Because it runs for such a short duration, it fails to remove humidity from the air, leaving your home feeling cold but clammy. Furthermore, starting up is the most stressful part of an air conditioner’s operation. An oversized unit turns on and off constantly, burning out electrical components and the compressor prematurely.
Conversely, undersized units run constantly, struggling to reach the thermostat setting. This drives up energy costs and causes the equipment to wear out years before its time. To avoid both scenarios, a professional will perform a load calculation process known as a Manual J. This objective, mathematical assessment factors in your home’s square footage, window quality, insulation levels, ceiling height, and orientation to the sun. Emphasizing correct sizing is the foundation of a reliable, long-lasting installation.
Evaluating Unique Home Layouts and Cooling Alternatives
Traditional central air conditioning relies on a network of metal or fiberglass ductwork hidden in your walls, floors, and attic. However, not every home is built to accommodate these bulky pathways. Addressing edge cases where traditional installation might not be the most straightforward solution is a critical part of the evaluation process.
Older historic homes, recent room additions, and converted garages often lack existing ductwork. Trying to retrofit large ducts into these spaces can require lowering ceilings or sacrificing closet space, which is highly disruptive and expensive. In these scenarios, the architectural challenges of the home must dictate the final installation strategy.
Ductless mini-split systems serve as a highly viable alternative for targeted cooling. These systems consist of a compact outdoor compressor connected via small refrigerant lines to sleek, wall-mounted indoor air handlers. They require no ductwork, offering whisper-quiet operation and independent temperature control for specific rooms. For homeowners dealing with uneven cooling in multi-story houses, zoning systems—which use motorized dampers inside the ductwork to direct air exactly where it is needed—can solve temperature imbalances without replacing the entire central unit. If you are dealing with a unique layout, exploring the best ways to add AC to a house without vents can open up new possibilities for total home comfort.
Common Homeowner Questions About AC Troubleshooting and Upgrades
How do I know if my AC needs to be replaced?
You should consider replacing your AC if the unit is over 10 to 15 years old and requires frequent, expensive repairs. Rising energy bills and an inability to keep the house consistently cool are also major indicators. If your system still uses phased-out R-22 refrigerant, replacing it is often more cost-effective than repairing a leak. A professional load calculation can confirm if a new, properly sized unit will resolve your ongoing comfort issues.
Why is my AC running but not cooling?
When your AC runs without cooling, it usually means the heat transfer process has been interrupted. The most common causes include a heavily clogged air filter, a frozen evaporator coil, or a dirty outdoor condenser unit. In more severe cases, it points to a refrigerant leak or a failed compressor that is no longer pumping refrigerant through the system. Checking your filter and ensuring the outdoor unit is clear of debris are the best first steps.
What is included in a standard AC installation?
A standard installation includes safely removing and disposing of your old equipment, installing the new condenser and indoor evaporator coil, and reconnecting the refrigerant lines. It also involves updating the electrical wiring to meet current safety codes, installing a new thermostat if needed, and testing the system’s airflow and refrigerant charge. A quality installation always begins with a precise load calculation to ensure the new equipment is perfectly sized for your home.
How do you troubleshoot an air conditioner safely?
Safe troubleshooting is limited to checking external factors that do not require opening the equipment’s metal cabinets. You can safely replace dirty air filters, verify that your thermostat has fresh batteries and is set correctly, and check your home’s main electrical panel for a tripped breaker. You should also ensure the outdoor unit has plenty of breathing room by clearing away leaves and branches. Never attempt to handle refrigerant or test high-voltage electrical components yourself.
Can a new AC unit be installed on old ductwork?
Yes, a new AC unit can often be connected to existing ductwork, provided the ducts are in good condition and properly sized for the new equipment. However, older ductwork may have leaks, disconnected joints, or inadequate insulation that will hinder the new system’s performance. A thorough inspection of the duct system is a necessary part of the installation process to ensure you actually receive the efficiency you are paying for.
How long does a professional AC diagnostic usually take?
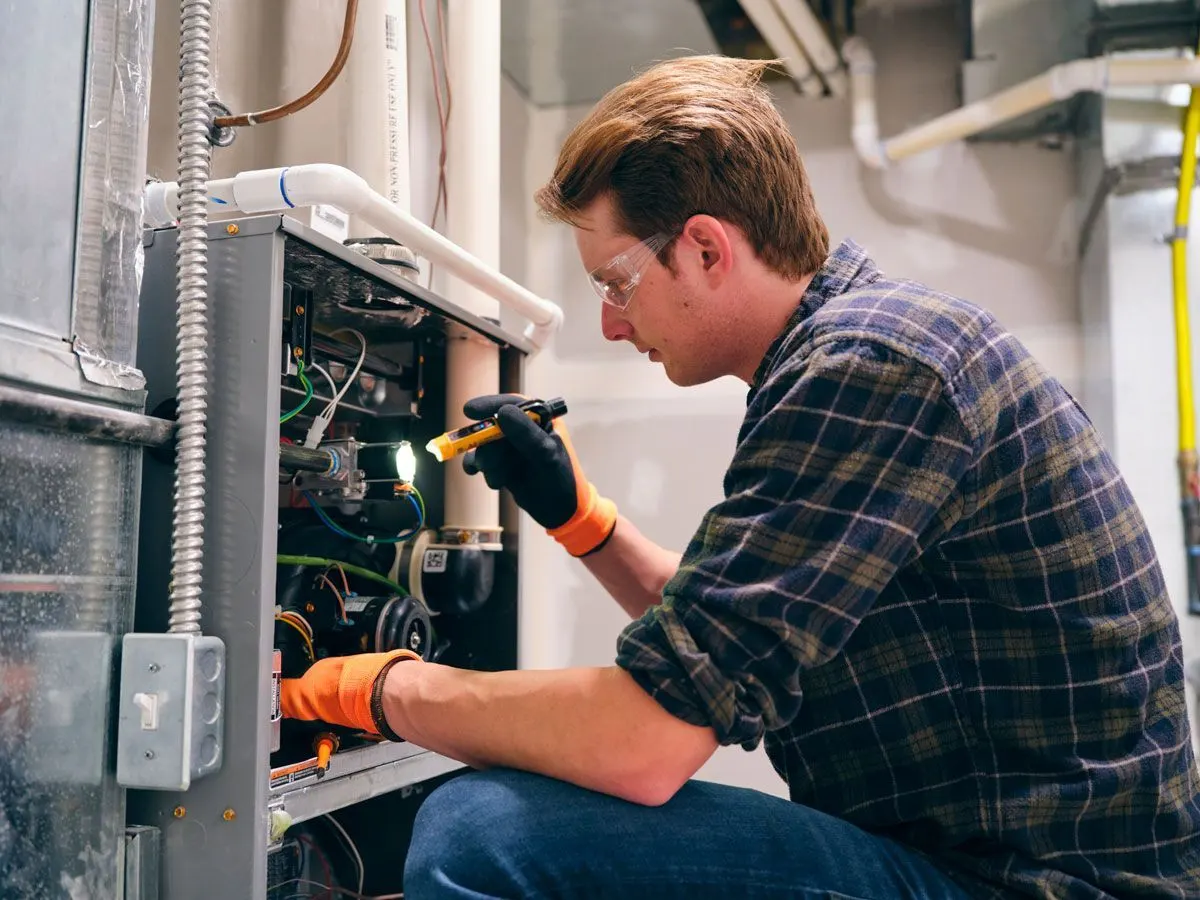
A thorough professional diagnostic typically takes between 45 minutes to an hour and a half. The technician needs time to inspect the thermostat, measure electrical loads at the condenser, check the refrigerant pressures, and evaluate the indoor coil and blower motor. This comprehensive approach ensures that they find the root cause of the failure rather than just treating a surface-level symptom.
Making an Informed Decision for Your Home’s Comfort
Addressing a struggling cooling system does not have to be a stressful, rushed experience. By understanding the objective warning signs and knowing the safe boundaries for basic checks, you can confidently navigate the line between a simple fix and a major mechanical failure. The importance of an objective evaluation before committing to a replacement cannot be overstated; correct mathematical sizing and a clear understanding of your home’s unique layout are the true keys to long-lasting comfort.
A clear, unbiased explanation of how the service works is essential for giving you the confidence to move forward. We highly encourage scheduling proactive professional assessments before the peak summer heat arrives, ensuring your equipment is ready for the heavy humidity workload. Whether you need reliable home maintenance tips and troubleshooting guidance or a comprehensive system evaluation, taking action today will secure a cooler, more comfortable home for the seasons ahead.